maandag 31 januari 2011

Front suspension - second half

I started working on the second half. How old is this dirt?


This is how it should turn out.


Releasing the road springs requires a threaded rod. I used an M10 rod but that's actually on the thin side. I believe the manual says 16mm is the size to go. I ripped the threads of a couple of nuts already so it's worth using new nuts every time.


The spring, completely released.

Front suspension rebuild

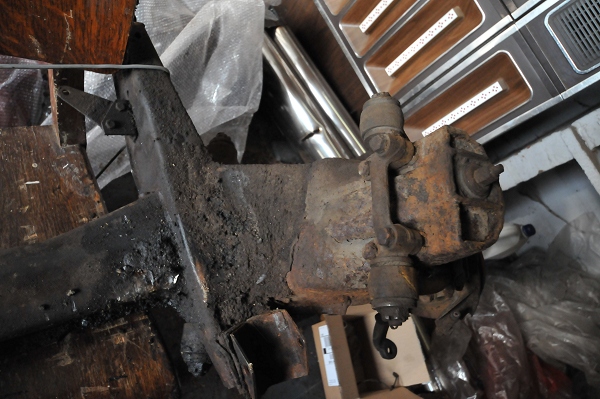
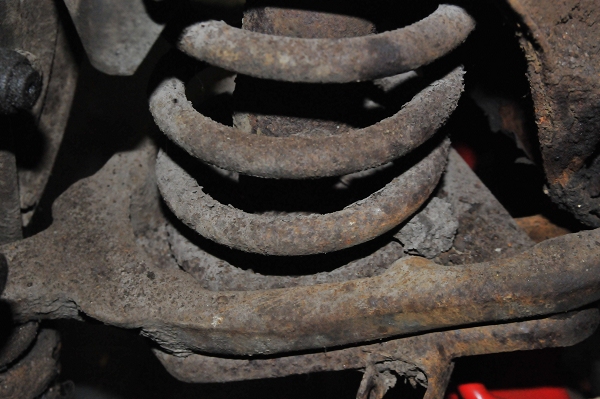
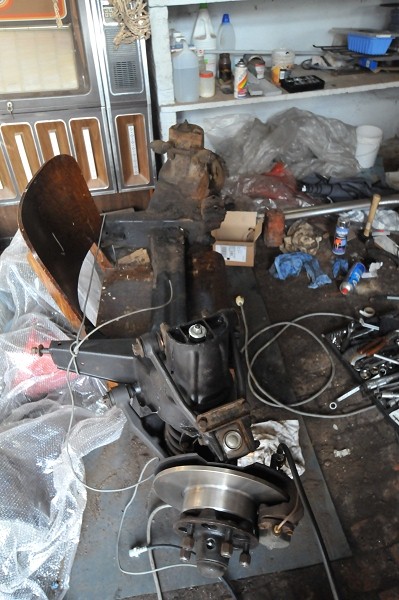
Rebuilding the front suspension is quite a job. Releasing the springs is especially nervewrecking. It's all pretty straight forward but it's worth taking notes which screw goes where, and especially where which washer goes.
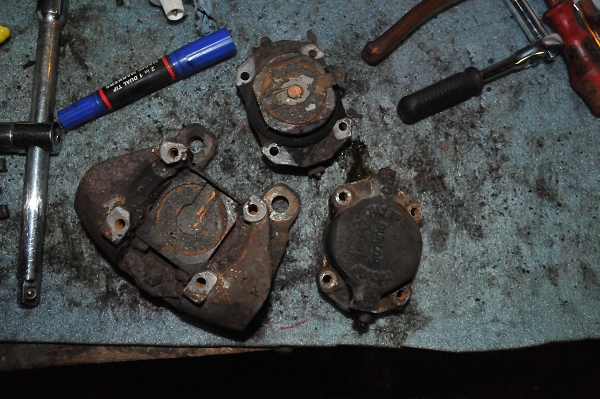
Pretty rusty.


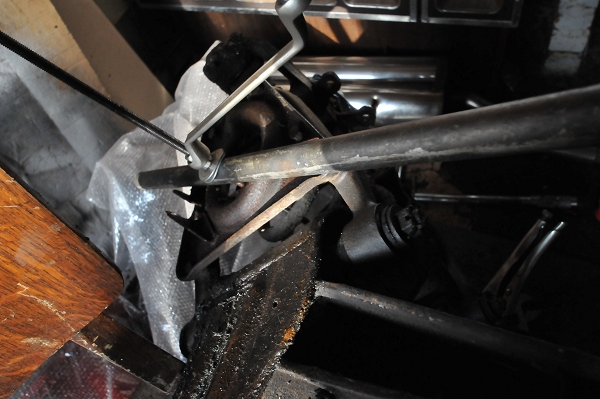
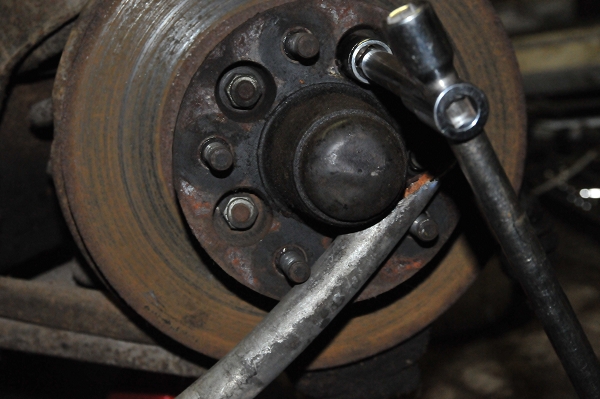
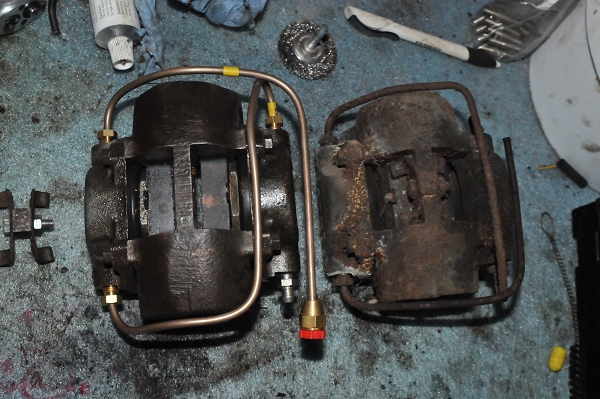
Brake discs will have to go as well.


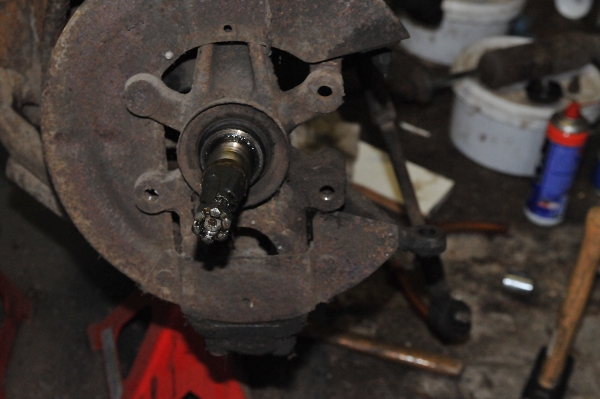
The front hubs come off a lot easier than the rear ones.


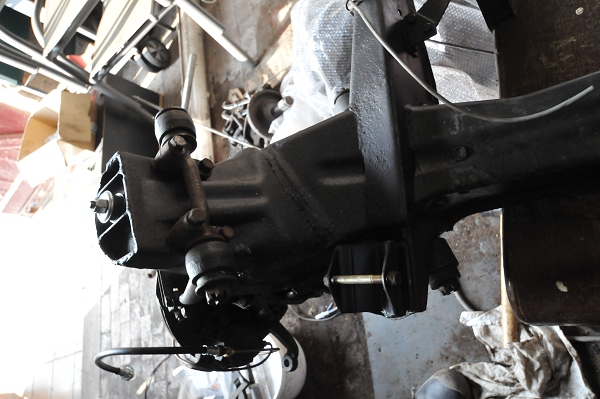
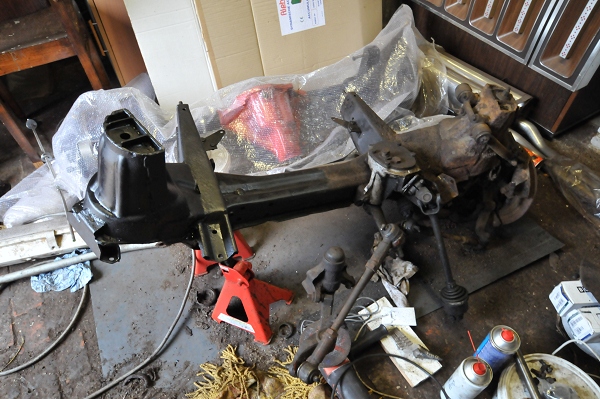
Flash forward. Almost everything has been removed on one side. This will be covered in more detail in a following post. I did this side by side so I'd have a reference for rebuilding.


Some cleaning with various wire brushes and a coat of rust-inhibiting paint.


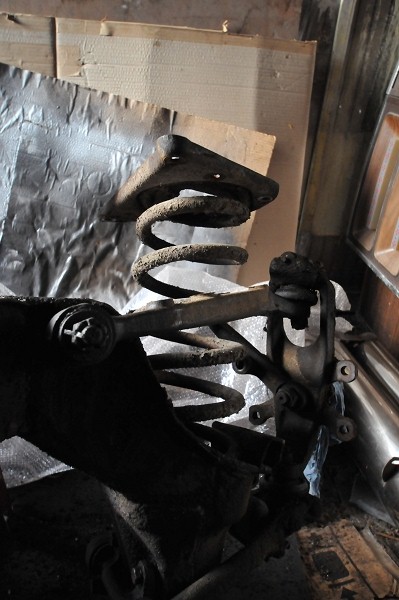
My axle stands are all used up so I tied the suspension to a chair.
The SNG barratt front suspension rebuild kit contains new ball joints as well, as you may have noticed.

Front brakes

Rebuilding the front brakes was another dirty job similar to the rebuild of the rear brakes. Again, the brake pads were stuck because of the dirt and rust.
The front pistons didn't come apart like the rear ones so the rubbers had to be heated (not too much) and lubricated with brake fluid to stretch into their place.


"After" and "Before"