zondag 15 mei 2011

The clutch

I'm hoping to finish the engine, clutch and gearbox assembly by the time the car has had its respray, so I can put the engine in in the garage where there's more and better equipment. So I had a look at the clutch.

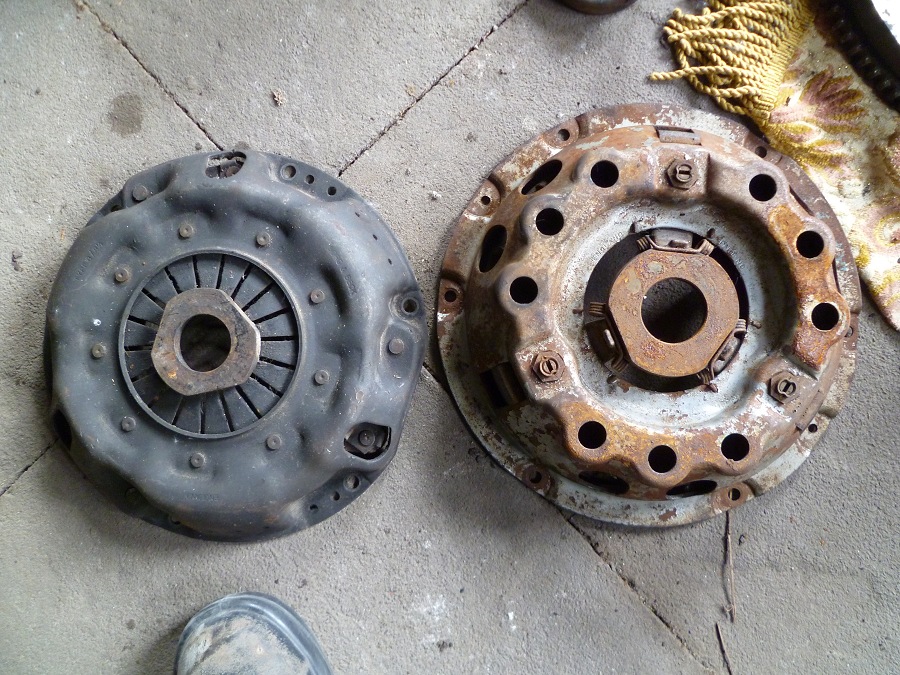
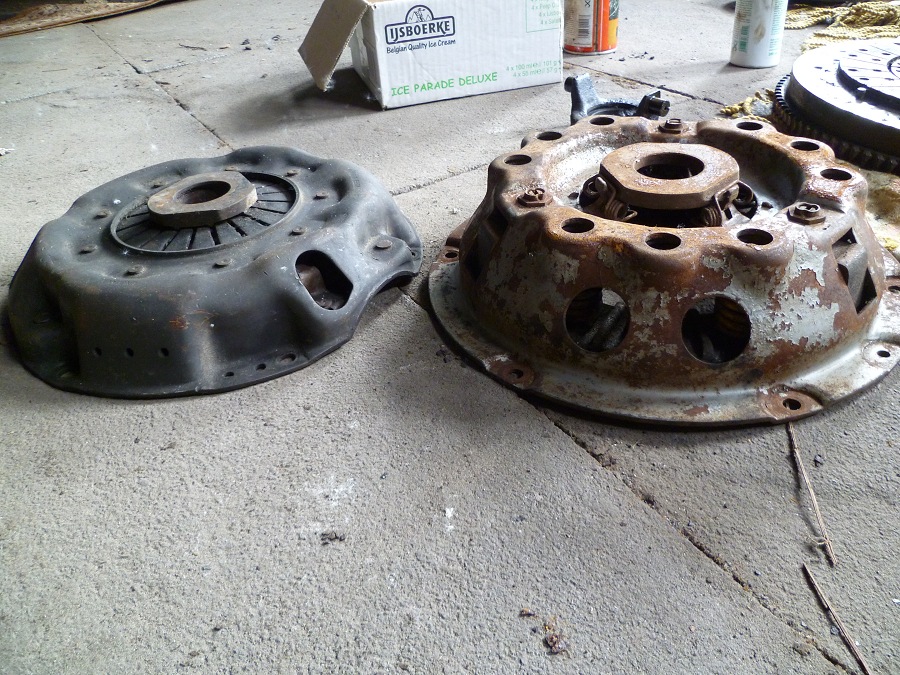
The original clutch on the 240 has a 8 1/2" diameter. It's worn, and what's worse: it's not easy to come by. Furthermore, there was a pretty good clutch assembly with the wreck, but that's a 9" unit.

There's not only a diameter, but also a height difference.


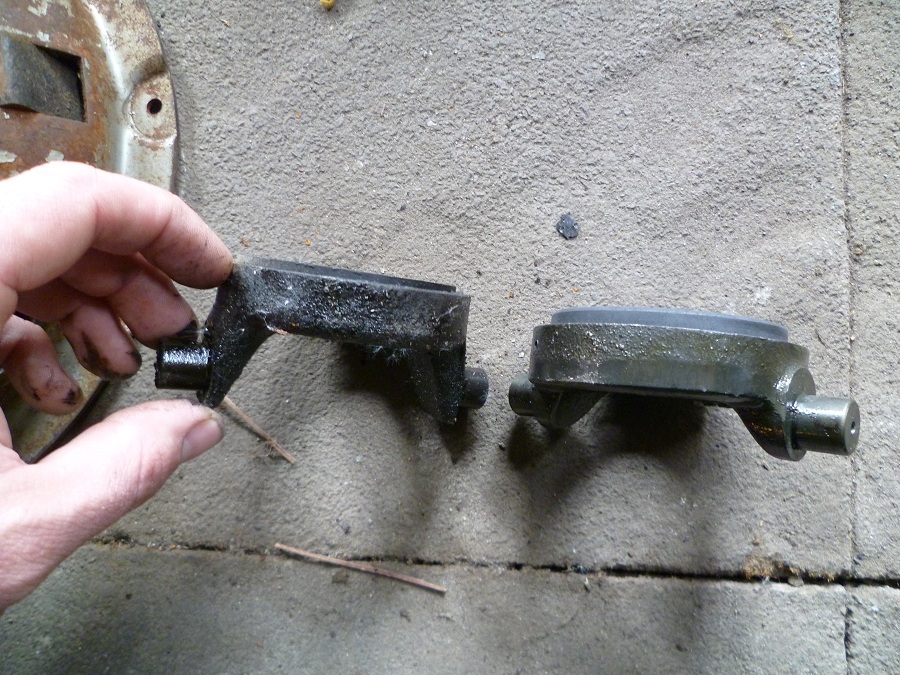
The bearing is different too. The one on the left is the original 240 bearing (higher bearing for lower clutch), the other one is a replacement I've ordered - parts for the 9" clutch are easier to find.


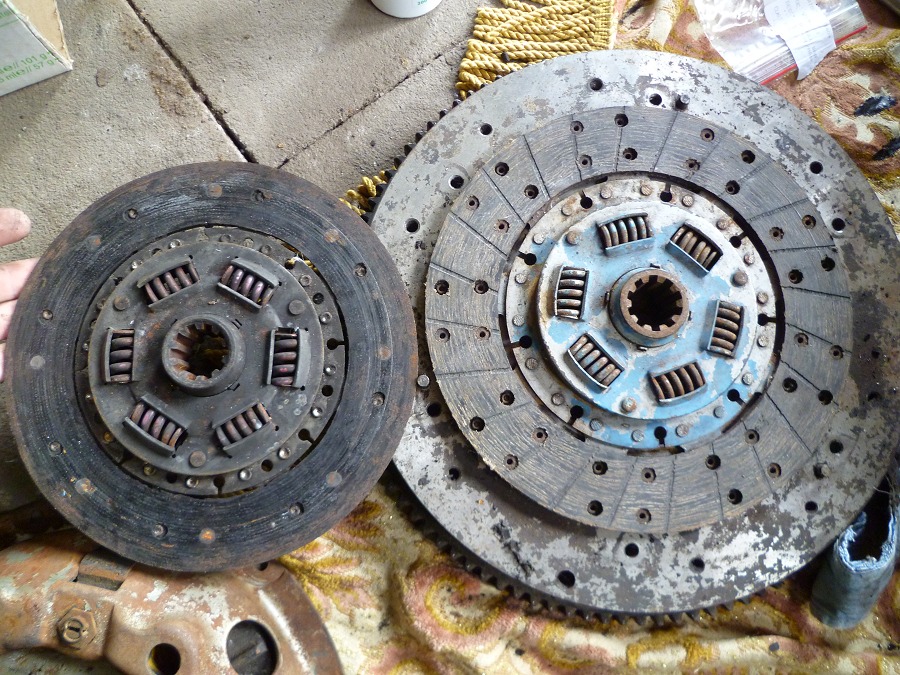
Worn clutch plate on the left, better one on the right.


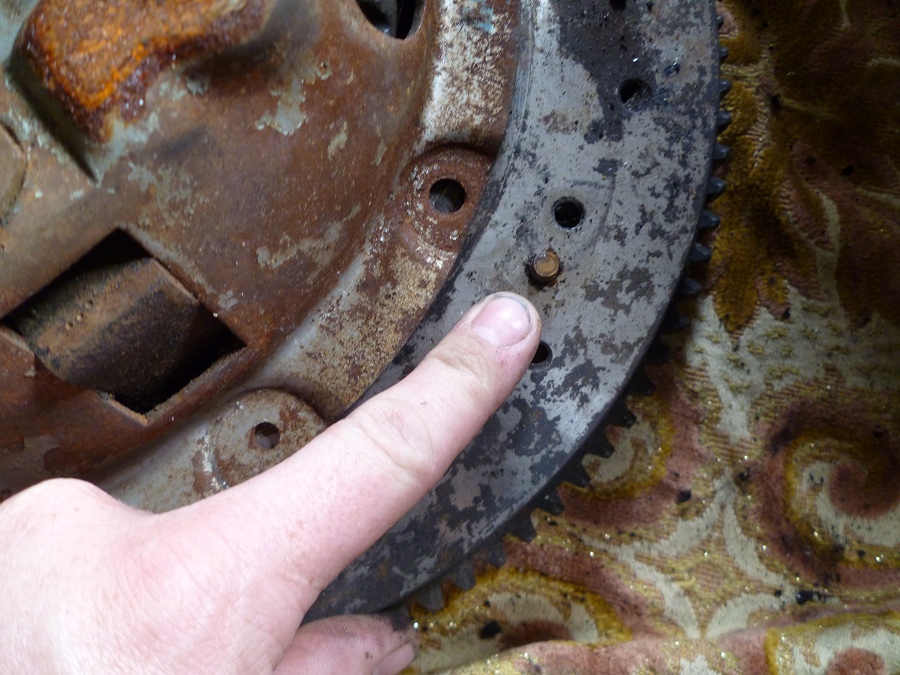
The threaded holes for the 9" clutch are already in place on the flywheel, the only thing in the way are these little positioning pins. I must get them out one way or the other, and put them in the holes that are also drilled but empty. Another course of action is to drill holes in the clutch cover but that seems like a crude approach.

Meanwhile, in the living room...

I've bought a couple of 1/18 scale models in a second hand store. After some Ebay hunting, I've found some more. I stick to the lower price range (around or under €20) - some scale models go up to or over €100, and that's more than I want to spend.


Instrument panel

On a sunny day, I set about rebuilding the instrument panel. As I assumed, the panel itself is symmetrical, so I've used the best one and cleaned it on both sides.


The meters from the 1961 Mk2 differ from the 1968 240 in some details. This is especially clear on the water temperature meter. Not only is one made in England and the other in the UK, but one indicates the temperature in °C and the doesn't give absolute numbers. Maybe this has something to do with LHD/RHD versions as well?


The amps meter on the older car has a "30" mark in the middle, the newer one doesn't.


In order to clean the meters, the rubber band has to be removed first.


In case the black rim doesn't turn, you can push in the lip under my index finger, and then both the glass, rim and dial turn and can be removed.


Here, the glass is removed and the lip can be seen.


The inside of the ammeter.


The meters and switches back in place. The rims of the meters were cleaned but not repainted as I'm afraid that paint-from-a-can won't achieve the desired result and the original paint is still in pretty good nick. The switches were cleaned, the chrome parts with "polychroom" chrome polish.


Slapping the wiring loom in place :-p


"Et voilĂ "
The cigar lighter isn't in place yet because it has to be rechromed, and the ignition lock isn't in place because I still have to change the locks.


There is a little difference in font between the original and the replacement item, but otherwise it's a perfect fit.

Carpets and trim

The car is at the garage and in my rare spare time I remove some of the paint before the repairs to the body can be carried out.

I'm also (still) working on removing the old veneer, the dashboard and glovebox veneer are much thicker and harder to remove. Steam doesn't help much, although it is good for removing varnish.

Meanwhile, I haven't exactly had much time to make real progress, but I did order the furflex, sound deadening felt and other trim stuff from Woolies.

As for the carpets, a new set in original material, cut to size and finished, would set me back €280 or so. Since I have the original carpets, I'm pretty sure I can cut them myself. So I've contacted a company that sells car carpets, Advotex in Opwijk. They had something roughly the same colour, not exactly the same texture but I don't care about that. As I've said before, the car should be clean and good, but not a concours winner. It turned out to be a roll of about 8m long by 1m, and because it had been lying around for a long time and they weren't planning on using it anymore, the man let me have it for 25€. A bargain.