zondag 27 februari 2011

RHD to LHD

(If you are wondering: LHD = Left Hand Drive, like in Europe, where we drive on the "right" side of the road, and RHD = Right Hand Drive, like in the car's native United Kingdom, where they say the steering wheel is on the "right" side of the car.)

Because I have the LHD wreck, I was contemplating converting the RHD car to LHD. The main question was: is it practicable? What needs to be changed? Here's what I've found so far.

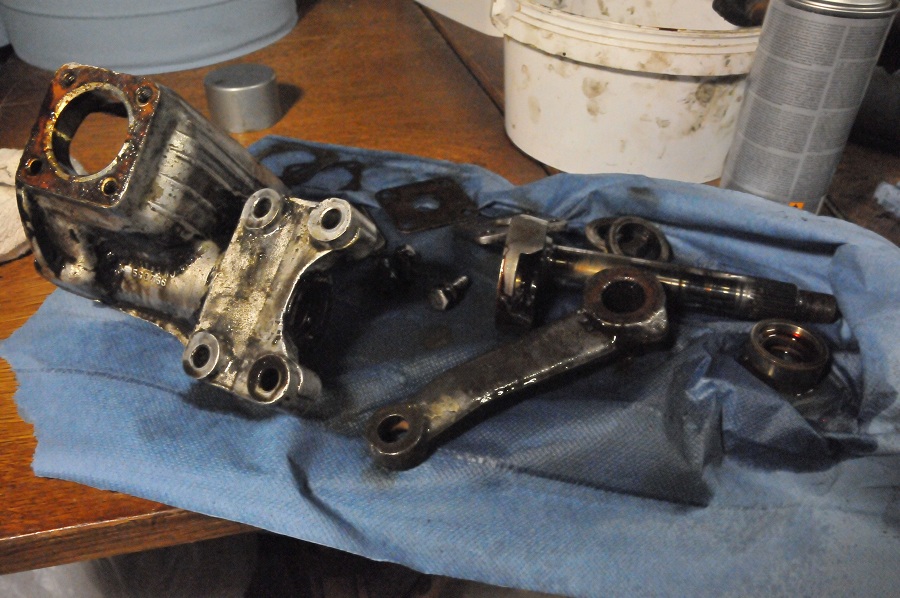
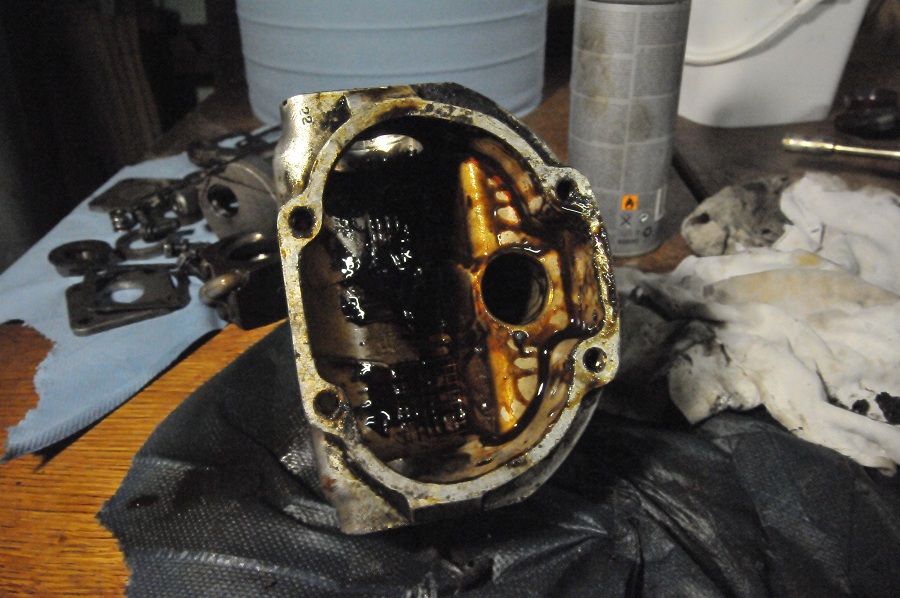
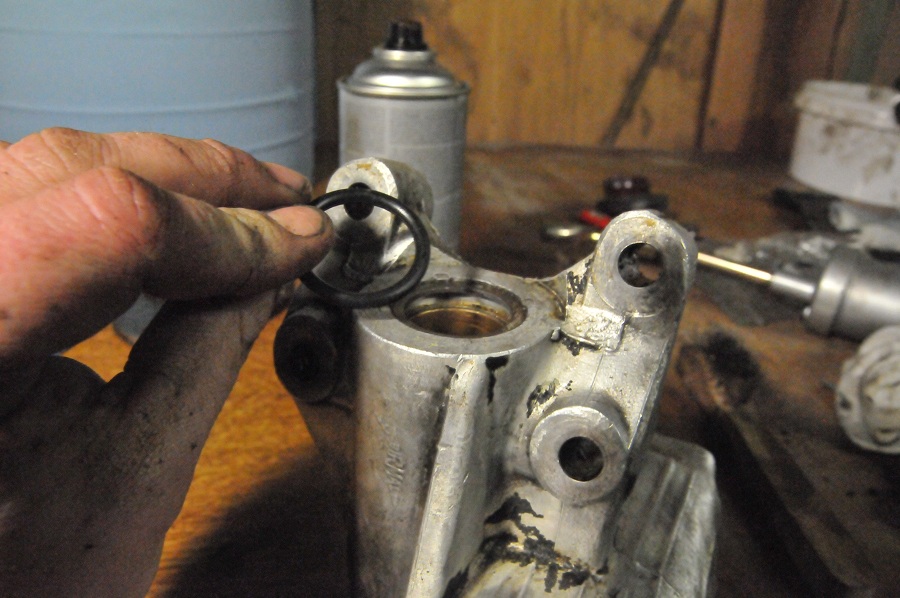
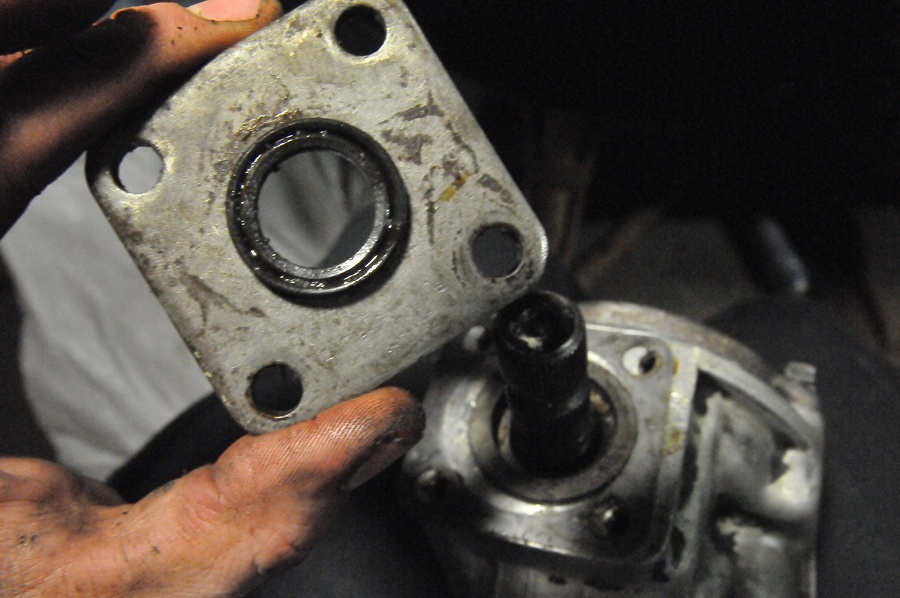
1) The steering house is different. While most of the components of the steering house are - or seem to be - interchangeable between LHD and RHD, the housing itself is not symmetrical and can not be put on the other side of the axle.

2) The head lamp beams point in the opposite direction for Europe.

3) The instrument panel is mirrored. I think it's not technically necessery to change this in order to convert the car, but it might be somewhat more difficult to use.
I think - but I will be able to confirm this later - the cut-outs are symmetrical so you could swap everything around. The only problem would be that the strip with the names of the controls wouldn't be correct anymore, but that strip is available separately at about €15 and you'll probably want to replace it anyway.
The wiring loom has to be inversed as well. It doesn't seem too difficult.

LHD instrument panel.


RHD instrument panel.


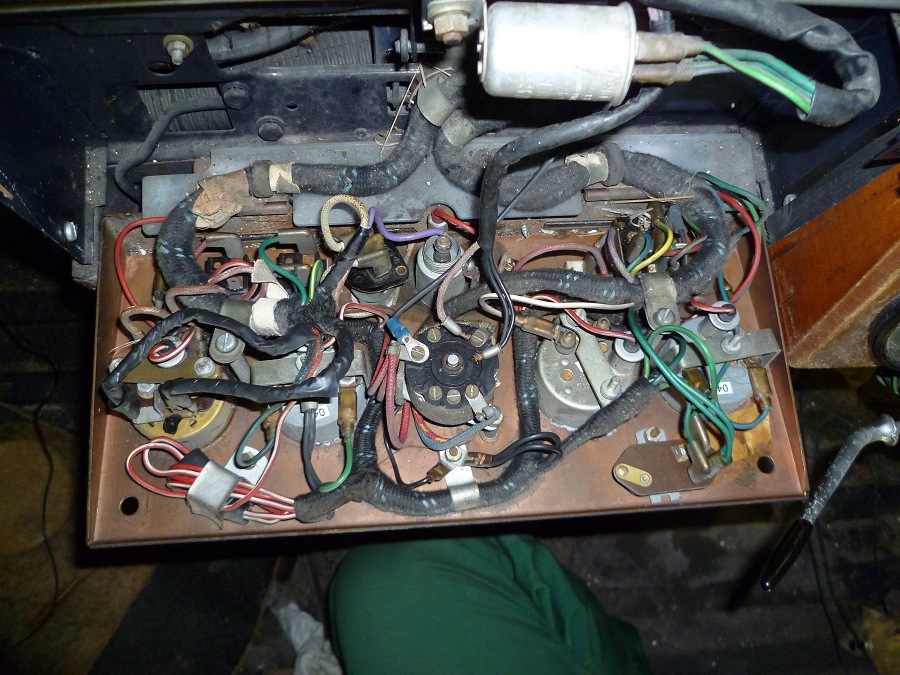
4) The wiring loom. Now for the good news: most of the wiring can stay where it is! So far I've only spotted a couple of wires that can easily be put in the correct position:
- The wiring to the dashboard
- The wiring to the dipper switch
- The wiring to the steering column
- The wiring to the handbrake
All of these are adressed below.

These wires near the doors must not be swapped!


5) The dashboard and it's wiring loom. The dashboard itself is not symmetrical. If you are considering reveneering, you might be able to cut out a new, mirrored dashboard. It can't be that hard (except for the reveneering of course). As for the wiring loom, you only need to place the thick loom for the dashboard and steering column from the right hand side to the left. It is flexible enough to do this.

6) The glove box. The same comment as for the dashboard: if you are reveneering, you could cut out a new mirrored glove box yourself. The box itself, which is in some kind of cardboard/felt material, is not interchangeable. This will require a lot more work if you want to make one yourself.

7) The steering column and its wiring. The wiring to the steering column is in the same bit of loom as the dashboard cables. I am not sure whether the steering column is the same for LHD as for RHD (I'll look it up in the parts list some time). The holes for the steering (and for the pedals and everything else) are there, some of them are covered with riveted plates that can easily be removed.

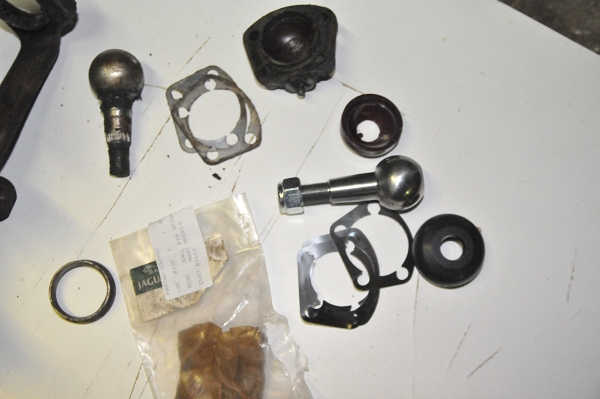
8) The hand brake and it's wiring. The hand brake seems to be attached with only one bolt. On the other side of the car, there's a rubber plug where I suppose I'll find a thread. I'm not sure yet whether all parts are interchangeable between LHD and RHD. I'll keep you informed as I progress.
Then there's the hand brake switch (to turn on the light) with the violet wire. This wire goes to the left hand side - even when the hand brake is on the right hand side in an RHD car. I'm not sure yet whether I can retrieve the wire on the left hand side or whether I'll connect it to a new cable running from right to left under the carpets.
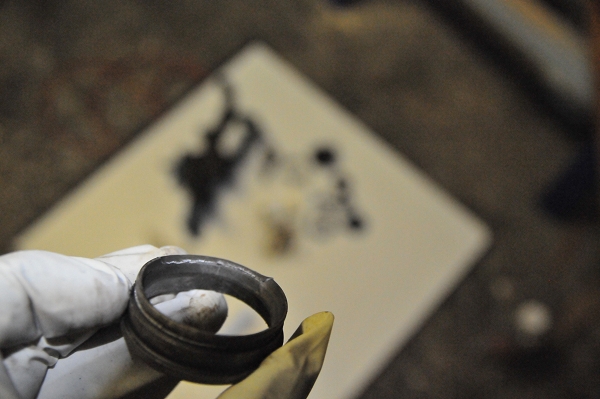


The plugged hole.


9) The pedals, brake and clutch master cylinders and tubing and throttle pedal and linkage - for throttle and clutch pedal removal, see my previous post. The cylinders come out as well, and the tubing is somewhat different. I've contacted the Automec people; there is only one different tube between an LHD and RHD brake line kit. I'm not sure yet as for the clutch pipe, it might be the same length but in a different position. As for the throttle pedal, they are of different construction for LHD and RHD, and not interchangeable. See the pictures below. I don't think the linkage is interchangeable either.

RHD


LHD


The bolt holes seem to be there on the RHD car...


10) The dipper switch. Same switch, and the holes are there. You just need to reroute the wires that go to it, they go through a hole near the steering column. This should hardly present any problems.


It should go here.

Miscellaneous things

These speakers are in the front of the RHD jag. I'm not sure but they're probably original, i've found something along the line of "upgraded sound system" in a price list.


My cat, Garfield, is helping out.


This was probably an anti-theft switch under the driver's seat.

Removal of the interior

I'm getting close to ready to get the car to the garage for the welding and the painting. I want to get it ready for the conversion from RHD to LHD as well, so I set about getting the interior out.
Most of it is very easy to remove, especially since all of the door trim was already removed.


Removal of the instrument panel - this is the panel of the LHD car.
Everything still in place.


Wires removed. Although all the wires are colour coded, I found it easiest to label the wires. The piece of loom indicated in yellow here can stay on if you only want to put the instrument panel aside. I've removed it though, because I'll probably use the RHD's panel with the LHD's meters. Read more about the reason in my post about RHD to LHD conversion.


The rear of the dashboard.


Removal of the brake and clutch pedal (from the LHD car).


The pedals themselves (and the heater) have to be removed before you can get the pedal box out.

dinsdag 15 februari 2011

The steering box

There's little attention to the steering box in the Practical Classics MK II guide (the 1980s book) and the info in the service manual isn't too detailed, so I'll go into it in some more detail than usual.
Very little is available for these boxes, unfortunately.

Disassembly:
- Clean the steering house. Afterwards, you might look a bit dirty :-p


- Remove the steering house from the front suspension (4 bolts). Clean it further.
- Attention! In order to remove the universal joint the tensioning bolts have to be removed, not just loosened.
- Remove the 4 1/2" bolts from the lid, remove the lid and pour the oil out. Beware! There is a loose spring in the lid (see the photographs below), don't lose it. The roller (see photos) can also be removed from the main nut.
- Remove the bolts from the front and back plates. Be careful: the steel balls might already fall out so preferrably do this in a clean environment and over a bucket or something.
- If nothing falls out: the distance pieces, gaskets and shims should come out rather easily. Then, push out the ball races - little or no force should be necessary, don't use a hammer or any very brute force. Pushing the worm back and forth might help. There are 10 balls on each side, make sure you retrieve them all.
- Turn the worm out of the main nut. Some balls will fall out so be careful not to lose them. Remove the rest of the balls (31 in all). There are balls in the tube as well. I've found there's no need to remove the tube. You can probably shake the balls out, and if you can't, it's not really a problem, just leave them in.
- You should be able to remove the main nut but it's not easy with the rocker shaft still in the way, so you might want to remove that first:
- Remove the large nut that holds the drop arm. There's a locking washer underneath it so this might require some force. With the main nut off the worm there's no chance of damaging anything anymore.
- Remove the drop arm from the rocker shaft. It's a taper fit so it will require either a bearing puller or some tapping with a plastic hammer. Take out the rocker shaft as well.

This is wat you're left with after disassembly. Some more cleaning is in order.


Apparently the "O"-ring is no longer available from Jaguar or SNG, but it's a #214 (imperial size) ring - if I remember correctly - you can buy at any automotive parts store (I guess). Take the old one with you.


This oil seal is probably the only thing that's still available. Part # is 6415 and both SNG and David Manners still carry it.


I had to cut the other gaskets from gasket paper. The thick one cost me about €5 for an A4 size sheet, the thinner one about €2.


The balls. Put them in their place with some grease - it actually works pretty well. Put the balls in the main nut (don't forget to fill the tube) and in one of the races. Just put grease in the second ball race. It helps to count the balls so you're sure you've got them all in place.


Turn the worm in the main nut.


Put the empty race over the front of the worm to where the shaft is thinner and put the balls in their place there.


Put the front plate, distance piece and gaskets and shims in their place. It's best to keep some pressure on the worm so the balls don't fall out of their race.


Put the rear ball race, distance piece, gaskets and shims in place. That's why it's good to assemble this race in advance.


Put the roller back in its place.


Depending on LHD or RHD, the drop arm has to be in the right position on the rocker shaft. This is made quite clear in the service manual.


This is the infamous spring which you must, under no circumstance, lose.


Now put the lid on and check clearances as described in the manual.
One more thing: there are 4 shorter and 8 longer bolts, each has a locking washer. The shorter ones are for the lid.

Now, you might think that you can put everything in the other way around and convert an LHD steering box to RHD. Unfortunately, this won't work. The housing itself is not symmetrical and you can't just turn it around. I do believe that everyhting else except the housing itself (and probably the lid) are interchangeable between LHD and RHD.

vrijdag 11 februari 2011

Birthday present

My brother-in-law and his wife gave me a very nice birthday present.

Front suspension - cont'd

Removing the front brake discs was a bit tricky because the sockets of my set don't fit over the bolts. I had to clamp a vise grip over the bolt heads.


I bought a spray gun, which I should have done a long time ago. It's cheaper than buying paint in cans in the long run, and the result is better than when applying paint with a brush.


The bottom ball joint. It's a taper fit (there's a lot of taper fit stuff on the front suspension). It took me a while to figure out that the best way to remove taper fit axles is by banging them a couple of times with a heavy hammer.


After some cleaning up the bolts were easily removed. Here you see the parts disassembled. The ring, indicated with the red arrow, can be removed as well. The ring from the other bottom ball joint is on the left.


The kit from SNG barratt.


Be careful when pushing in the ring. Everything should be clean and the ring pushed in straight, or it might break. It did in my first attempt.


It works pretty well with a vise.


The anti-roll bar linkages have seen better days. I've replaced them with new ones.