vrijdag 18 juni 2010

the engine is growing...

I have put some ancilliaries on.
If all goes well I hope to test it in the next couple of weeks.


Appartently I put the bracket for the air filter on the wrong side. I hope that will be all that's wrong...


zondag 13 juni 2010

Some progress on the engine...

The disassembled and re-assembled oil filter.
I was lucky I never throw out the old pieces until the new ones prove satisfactory: one of the oil filter parts was stuck to the old filter element and I would've thrown it away.


Setting the valve clearances is a boring job: mounting one camshaft, measuring everything, getting the shaft out, correcting, and starting over... So you'd better do this when you're in a totally zen mood. As illustrated below.


Two tools that come in very handy when setting valve clearances:
1) a micrometer to measure the exact thickness of the used shims. This one cost about 6,5€ which is the price of two shims if you shop at SNGBarratt, or one shim if you go to your local Jaguar dealership.


2) a distance piece from a drill. This can be used to turn the camshaft, almost without effort.


The damper, cleaned, reveals the "BTDC" markings.


Just some more nuts & bolts. We order Chinese food in order to get these handy boxes.


Water pump and cylinder head in place.


Isn't this a nice sight... I don't think the engines had gold lettering originally but I like it this way.

zondag 6 juni 2010

Assembly

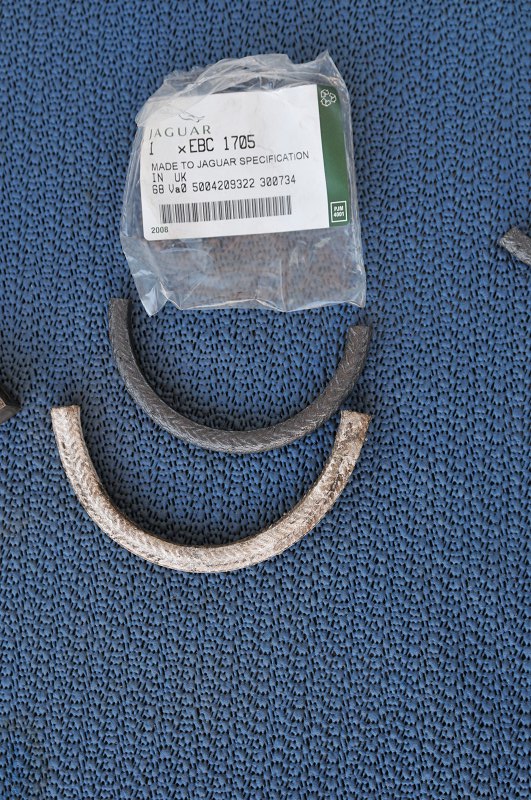
The non-original gasket set contained too large an oil seal. The original Jaguar part (above) was an exact fit.


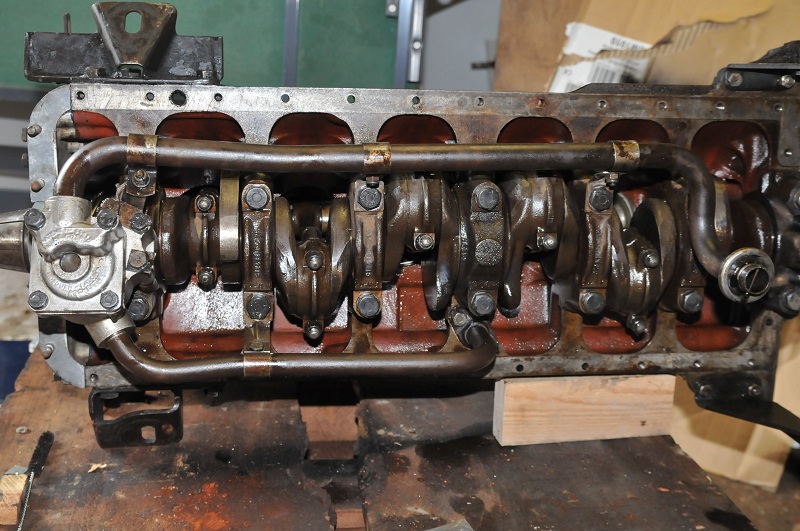
Pistons, new bearings and new oil seal in place .


The correct caps in the right place.


The new hydraulic tensioner. The oil enters through this little hole.
This brand (Rolon) didn't seem to have a way of releasing the spring... after some heavy cursing and reassembling the thing a couple of times I found out you just have to push it in once it's in place.


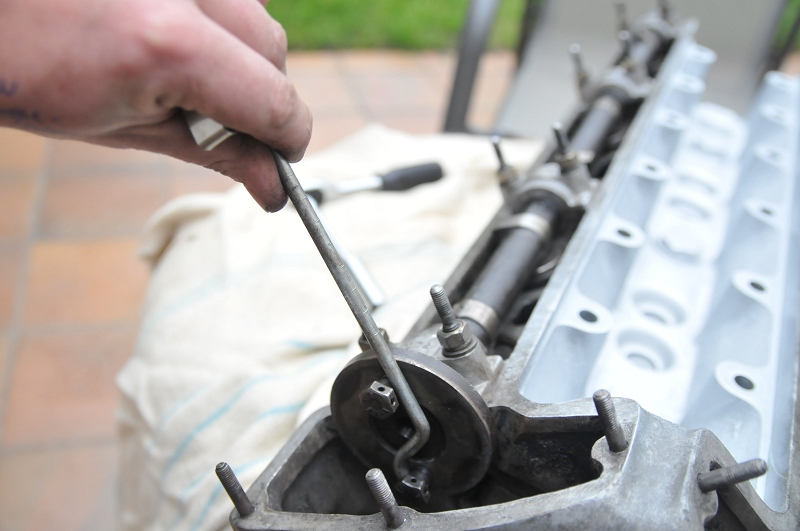
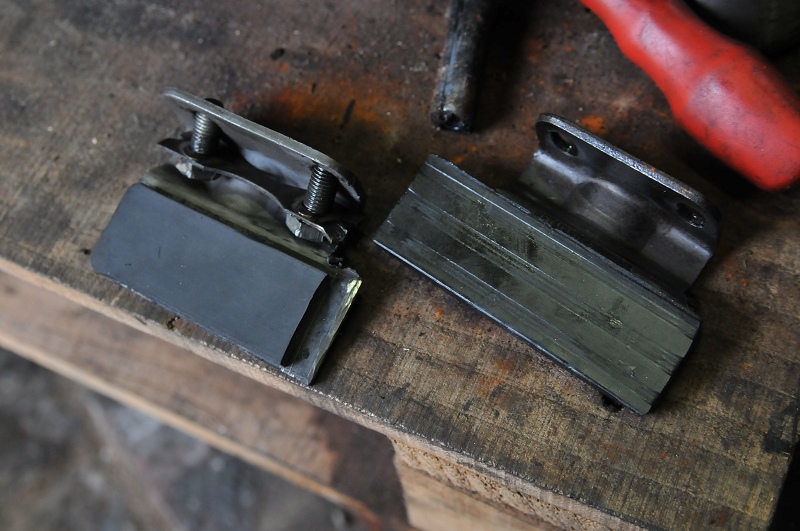
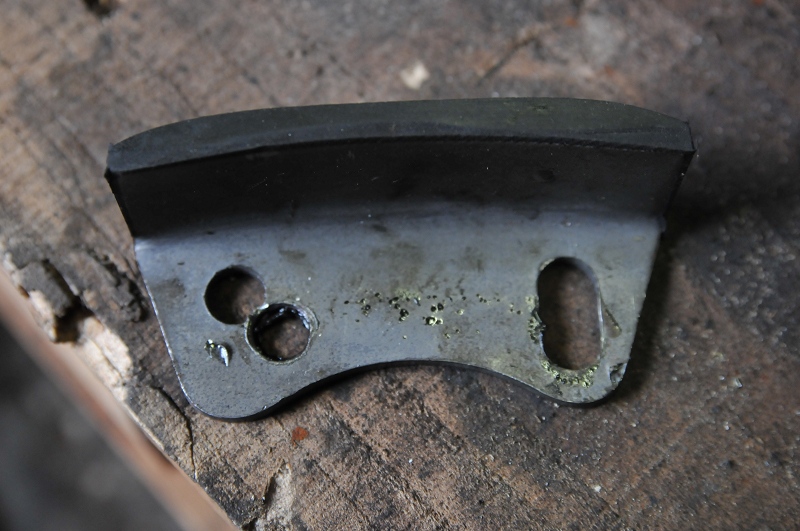
Some of the chain guides weren't available anymore. The replacements weren't the exact same size so I had to grind and drill some to get them to fit.


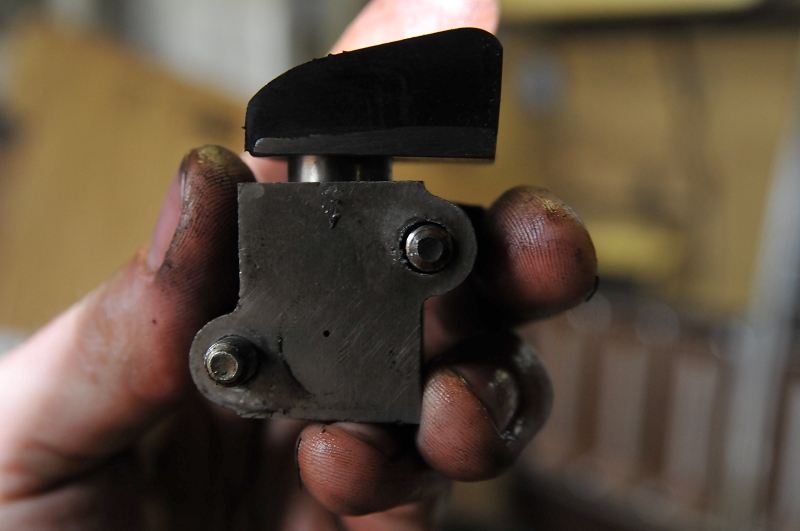
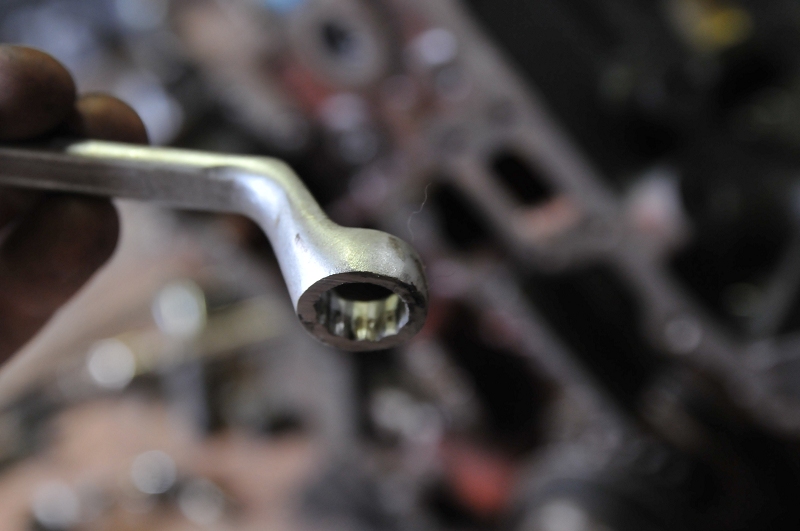
In order to reach the bolts behind one of the tensioners I had to grind a bit of this (cheap) wrench.


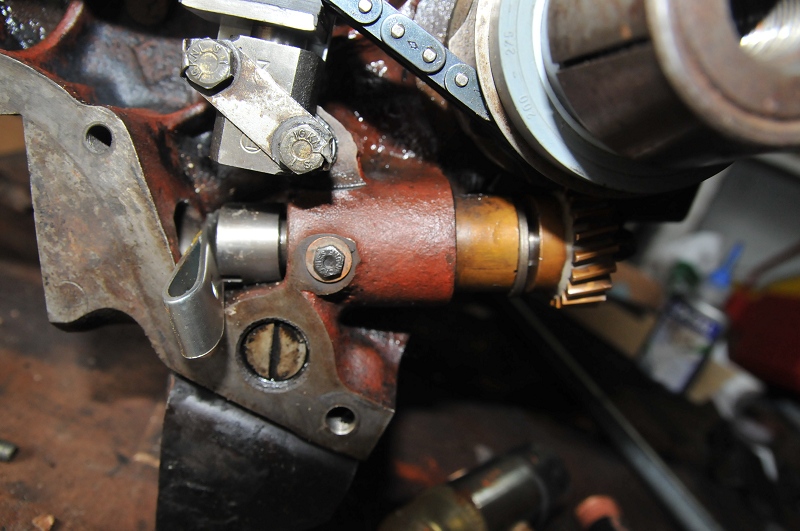
Timing gear back in place


Reassembling the drive shaft was another irritating job. I tried blocking the shaft with a piece of wood and tapping the gear on, but the crankshaft bearing was in the way. Then I tried without the bearing but the bearing can't be replaced once the gear is in place. So finally I put the gear in place, put a piece of metal behind the shaft to block it and started tapping the gear in place. Once you can put the nut on it's easy.


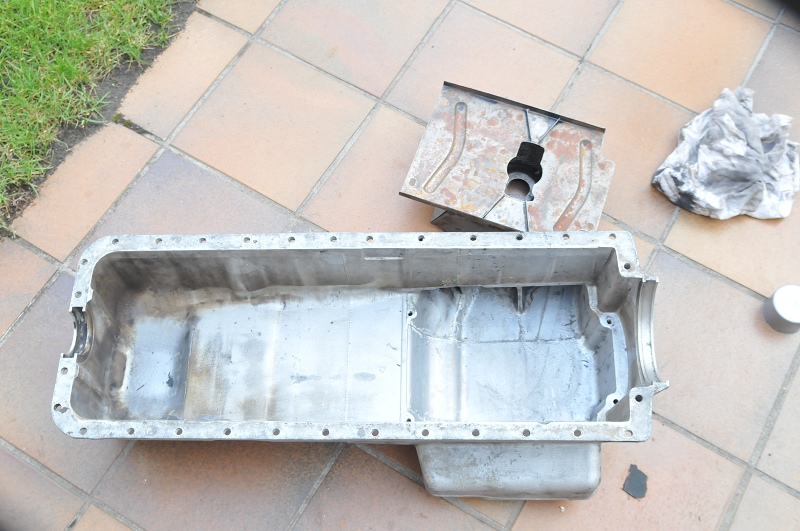
The sump... clean as it 'll ever be.


The oil pump in place.


The sump in place and the engine in upright position.

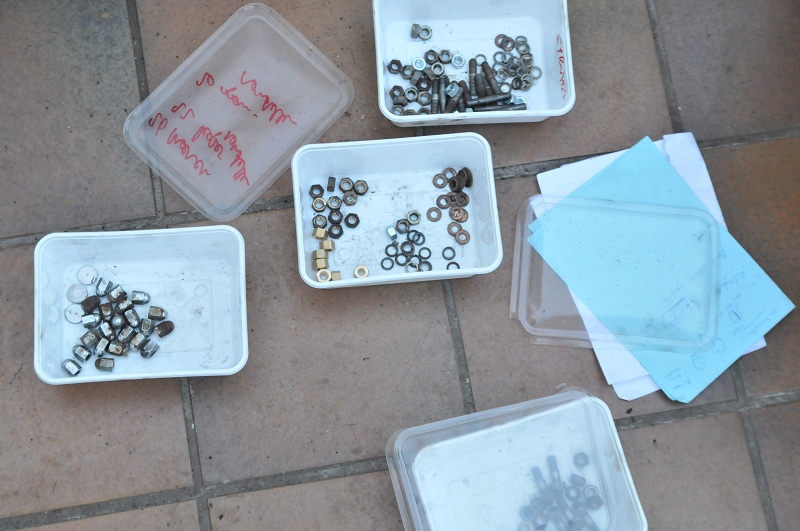
There are quite a lot of different types of bolts for the timing gear cover so it's best to make a note when disassembling. I learned that the hard way. On the plus side: you can't make mistakes if you take a logical approach.

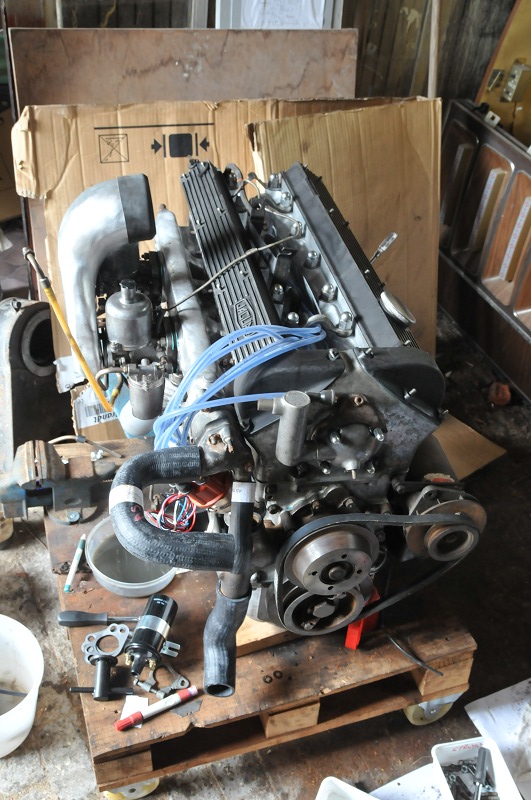
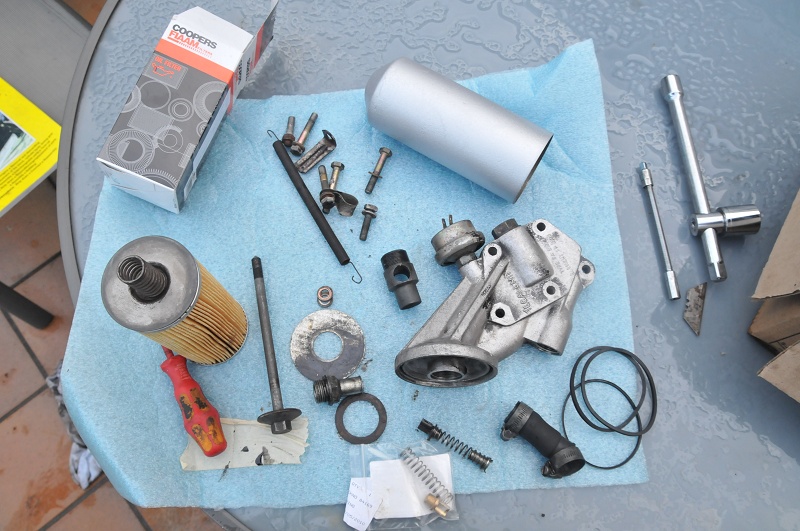
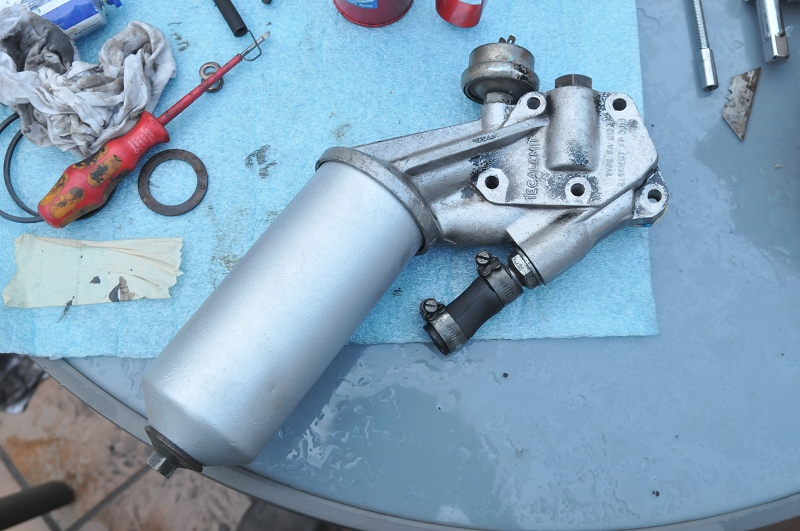
Next time: revising and putting the oil filter and water pump in place.
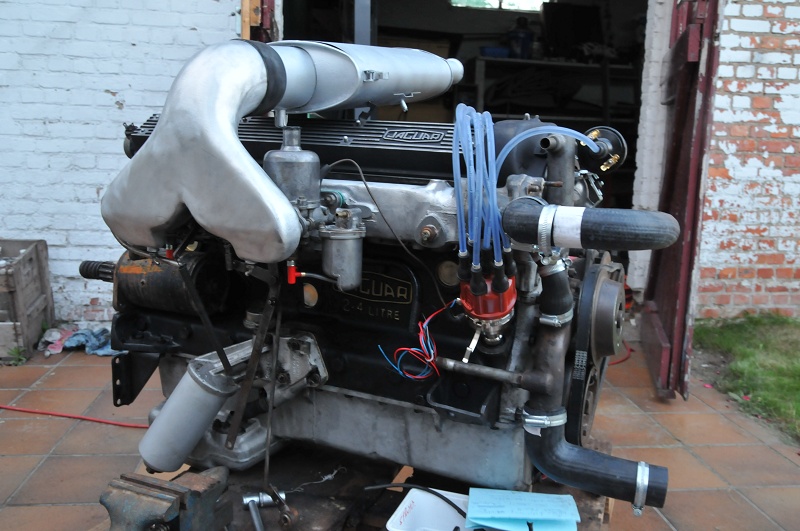
Final adjustments on the cylinder head and putting it in place. And then some fiddling with the electronic ignition...

Rear axle removal

Two cats together...


The rear axle, still in place


The panhard rod was very hard to disconnect.


Old and new...


The leaf springs


The axle


The differential

Carburetter revision

As far as I know, the 240 is the only Mk II model with HS6 carbs. The HS6 is very easy to renew. One set contains gaskets etc for two carbs.

Cleaned the dashpots:


New needle and gasket - one of the old needles was stuck half of the time so renewal was very necessary.