donderdag 24 maart 2011

About the chrome

There's a lot of BS on the internet about chrome and its alternatives, I can tell you that. After reading lots of websites I was none the wiser until I had a chat with the kind people of Chromage Mossu, one of the few chroming companies in Belgium. They're only a couple of minutes drive away from me.
I've added up some numbers and it seemed that buying every chrome part on the car new (or having it exchanged) would add up to about €6000. Pretty steep. I've also asked for prices with other companies and one gave me a quote of about €4500. Still pretty steep. Meanwhile, I've learned why.

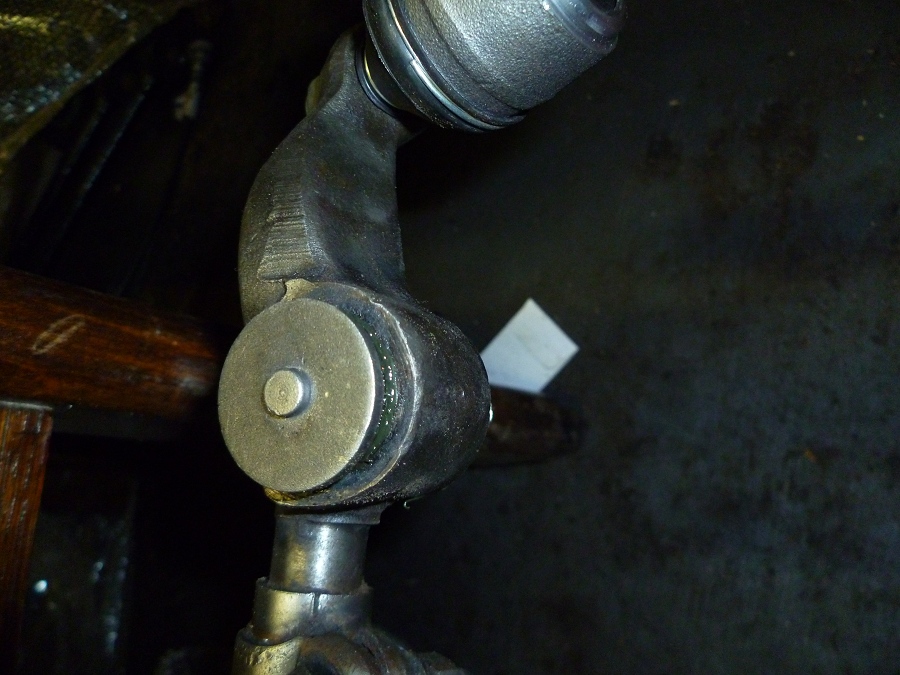
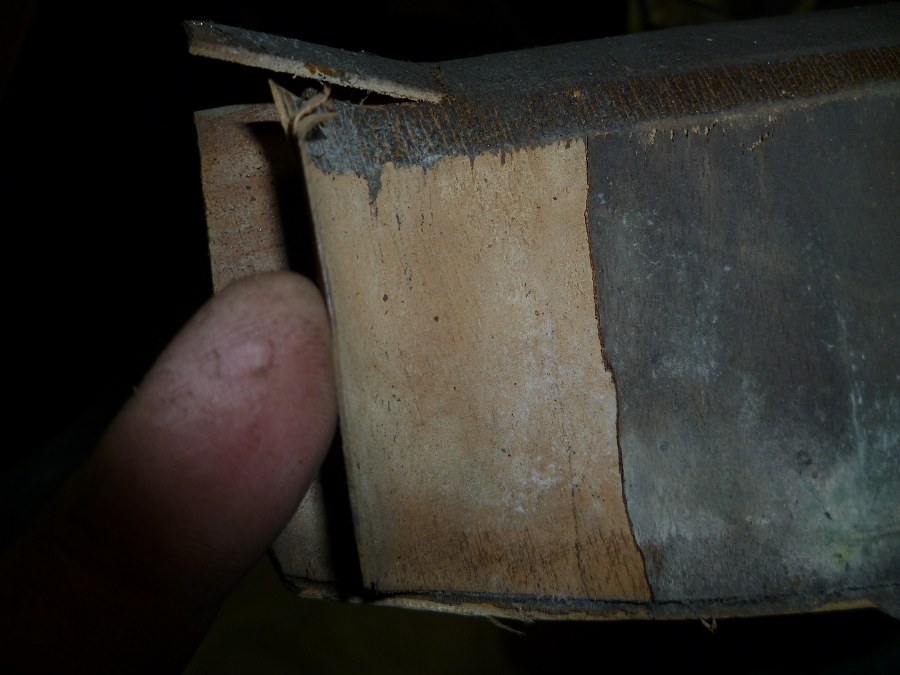
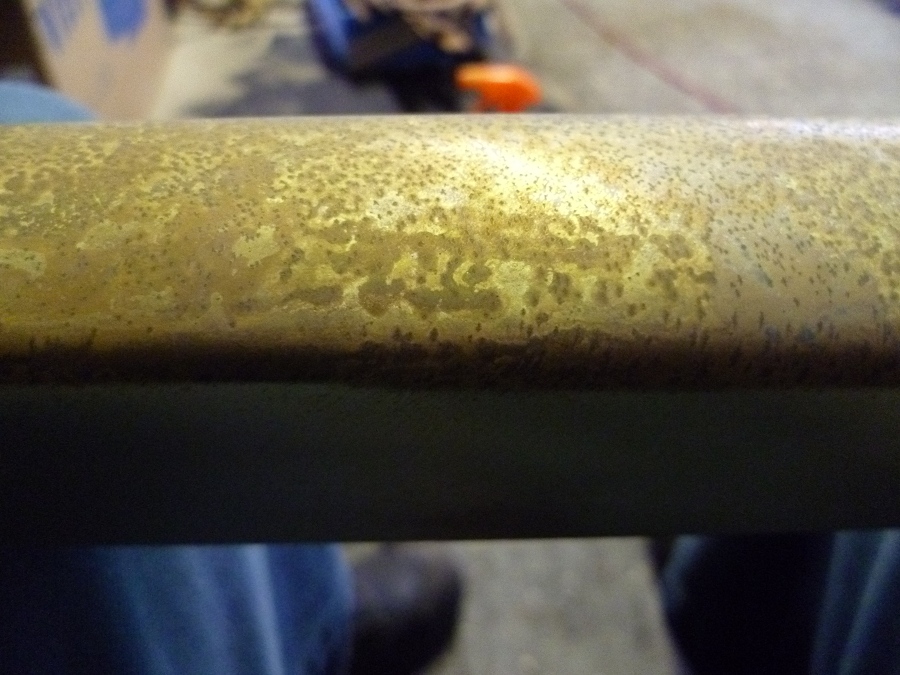
In this picture, from top to bottom: three times (almost) the same part, the B post moulding. The top one had one half sanded down and sprayed with chrome paint from a can. The middle one is "as it was", and the bottom one has been de-chromed by Mossu. As you can see, it's copper. (Also note: the top one is from the MK2, the bottom ones from the 240. On the Mk2 the B post moulding is 2 pieces, on the 240 the moulding is a bit bigger on the bottom and the second part isn't needed anymore.)


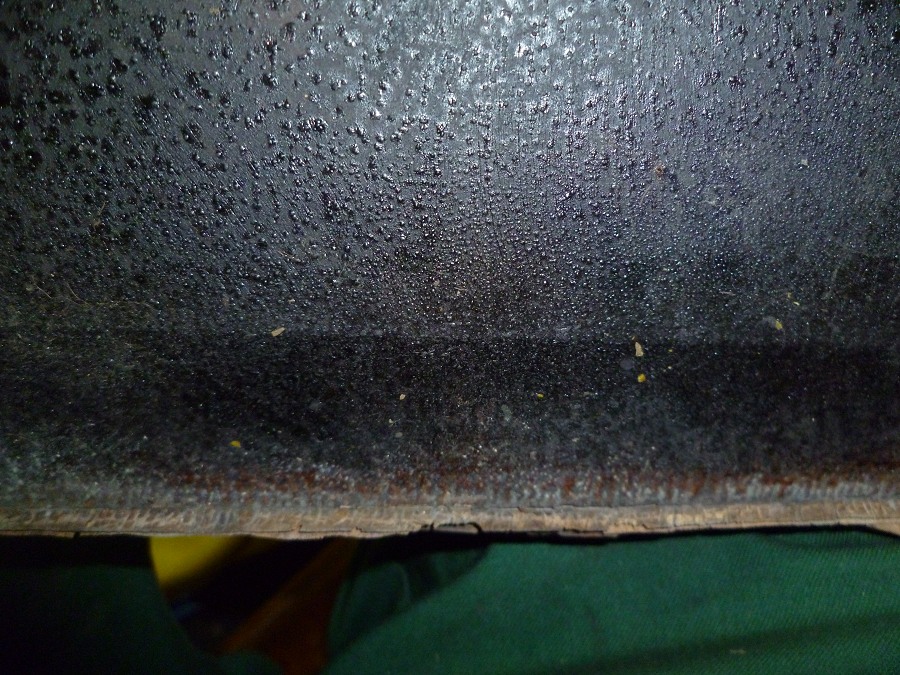
The difference between a (sloppy) chrome-from-a-can paint job - it was just a try - and real chrome.


Mr. Mossu said: "this is the finish you should achieve before rechroming".


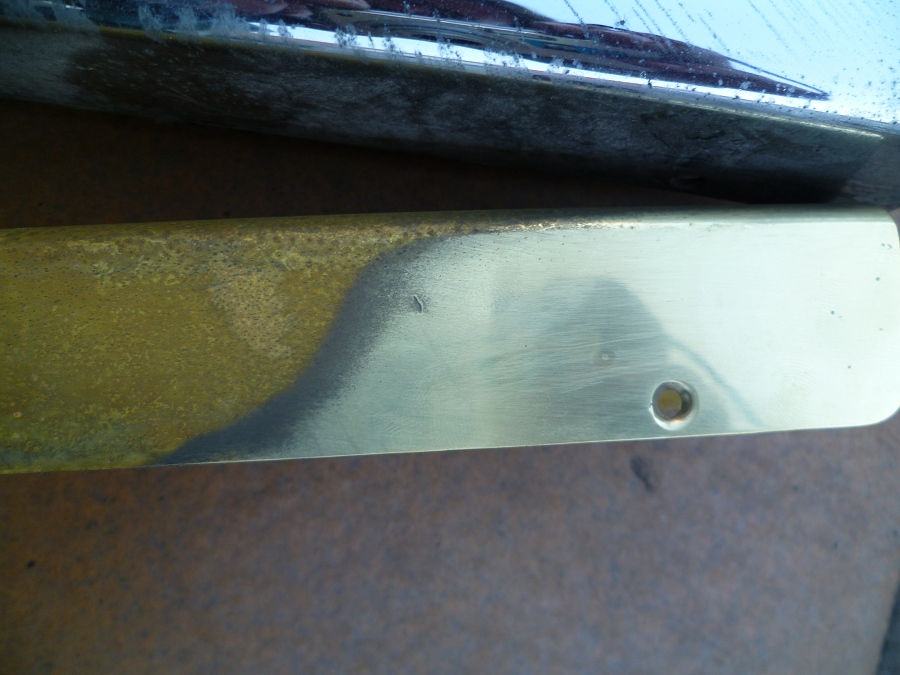
Easier said than done on a part like this.


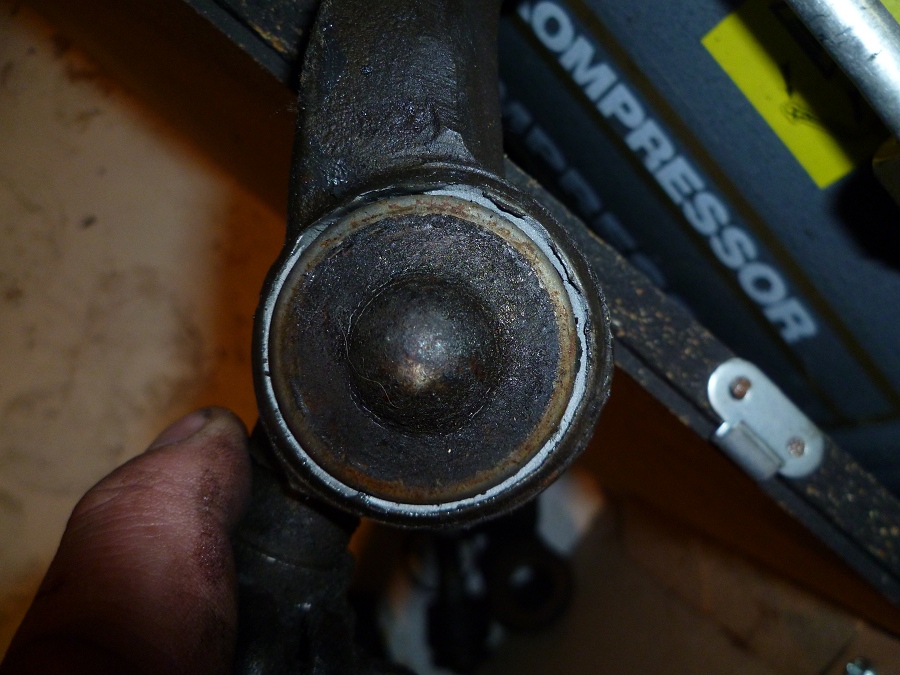
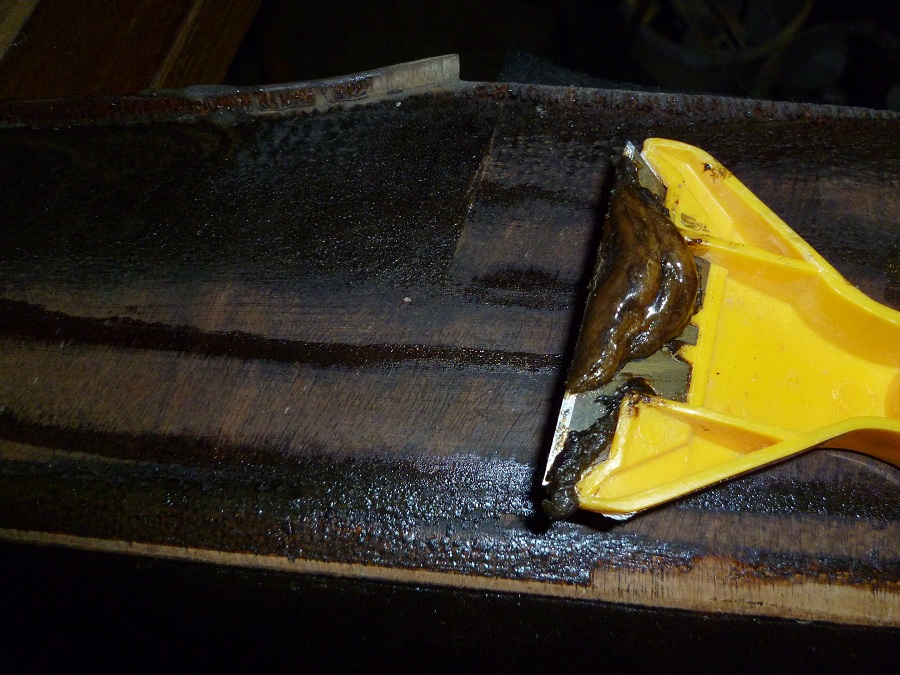
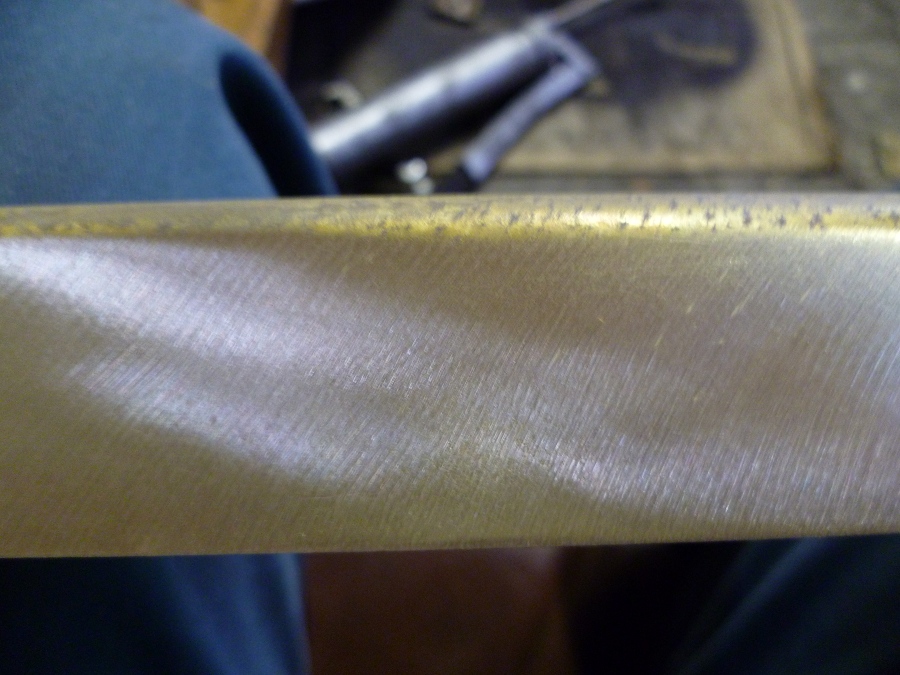
After the first sanding with a fine sanding disc. Better, but still no mirror finish.


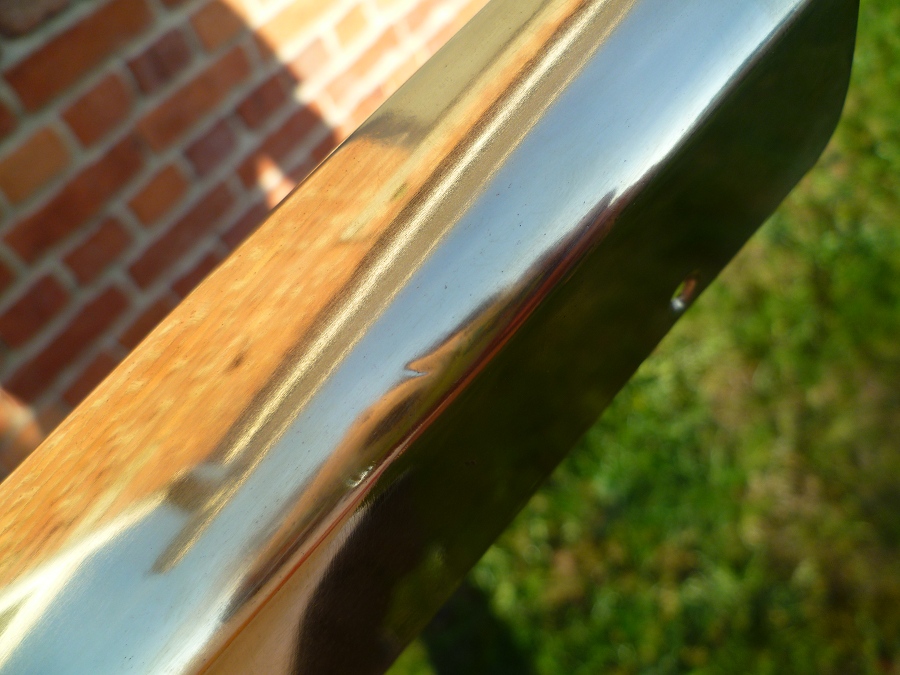
After polishing with grey polishing paste and a cotton (or is it felt) thing on my drill. This is beginning to look like it.


Unfortunately, there still are some dents and things, so I'll probably start over but with a coarser sanding disc first.


I asked if the dechroming was really necessary. Apparently, chrome is very hard so it would require a lot of work to sand off the chrome. That's why it's better to have it removed chemically.

The good thing is: the most time-(and money)-consuming part about rechroming is the polishing. So if I do this myself I will save a lot of money. Not only that, it will also be a lot faster, because there's a waiting list of months if I'd have the polishing done by the chroming company. If I do it myself, there isn't much work to be done for them except hanging it in the chrome bath and some minor repair works, so they can do it "in between".

About the steering

It's not very clear from the SNG catalog, so for clarity:

These link arms CAN be rebushed.


These CAN NOT.

About the bumpers

Since I have the "fat" bumpers of the Mk II, I want to use them instead of the "slim" 240 bumpers. In my opinion, it's only really a Mk II if it has fat bumpers. However...

There's a difference in the rear valance and mounting points.


Luckily, the bolts are in the same place and it's just the mountings that are different:


And I was planning on replacing the rear valance anyway because it is quite badly damaged underneath. So I've ordered the "fat bumper" version.

Some of these mountings came off easily, some didn't.


The ones where I couldn't get the bolts loose were cut with a potato knife. Pretty easy and satisfying.


When I looked up the order code for these mountings in the SNG catalog I was surprised to learn that they cost about €40 each (x4). I've mailed Marcus who is always very helpful, and he pointed out that these mountings are exactly the same as the front engine mounts, so the alternative versions come to about €10 each. This is mentioned in the engine bay parts list, but not in the bumper parts list.

I had to grind off the nuts on the overriders because the bolts were turning freely and there was no way to hold them. I'll replace them with metric bolts.


As for the front bumpers, there's a difference as well: the "hooks" are different. Luckily, they're only attached with 2 bolts each so swapping them is no biggie. The front bolt is in a difficult place so you'll need a universal joint on your ratchet.

thin bumper


fat bumper. Sorry about the flash. Note difference in space between chassis and bumper holder.

About the veneer

It took me some phone calls and some driving around, but I've found somebody nearby with a vacuum press and experience in veneering. I've read on the internet that you could do it yourself with all sorts of home remedies, but I have serious doubts about that. I'm not talking about some new varnish, but real new veneer.

The man told me to remove the old veneer, so I took the wood parts out of the oldest car, because the veneer had started to come off anyway.

The sides are in a different veneer than the front, and both veneers are attached to a backing.


Hard to see the veneer under this crackled varnish


I've used varnish remover here, more out of curiosity than anything else, because I'm going to use new wood anyway. I've only done this on one part. The wood chipped off easily without removing the varnish so why bother...


The wonderful walnut veneer on the glove box. On the right, some of the varnish has been stripped of with a special tool. You can see the varnish really brings out the patterns in the wood.


You can see the veneer around the doors is coming off by itself. Also note that the parts above the doors do have a veneer front in this car. In the 240 they do not, they're just varnished solid wood. Probably to save money?


No high-tech equipment is needed... just a scraper and - as always - lots of patience.