vrijdag 11 februari 2011

Front suspension - cont'd

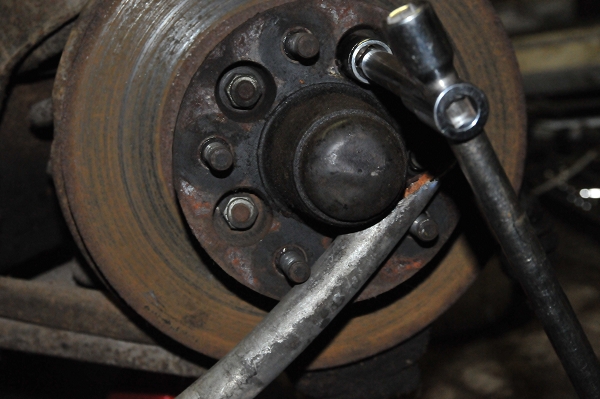
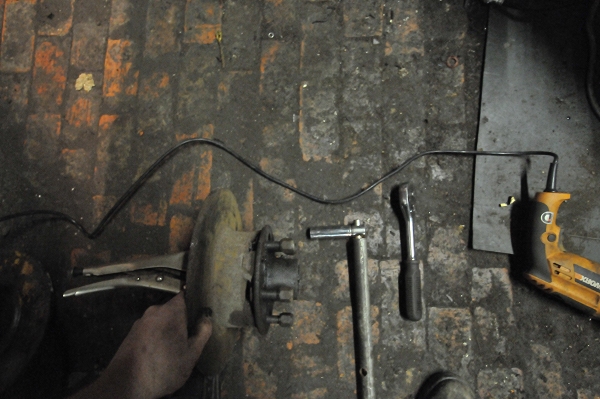
Removing the front brake discs was a bit tricky because the sockets of my set don't fit over the bolts. I had to clamp a vise grip over the bolt heads.


I bought a spray gun, which I should have done a long time ago. It's cheaper than buying paint in cans in the long run, and the result is better than when applying paint with a brush.


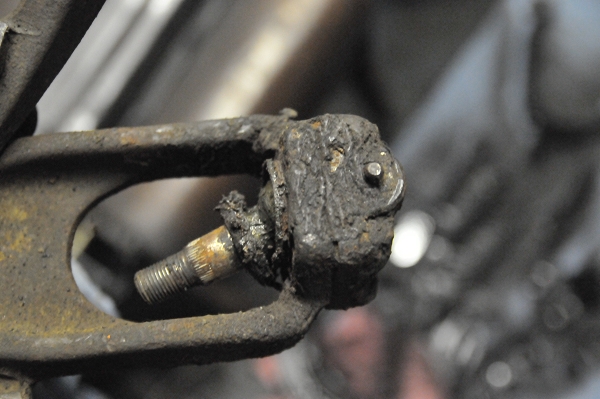
The bottom ball joint. It's a taper fit (there's a lot of taper fit stuff on the front suspension). It took me a while to figure out that the best way to remove taper fit axles is by banging them a couple of times with a heavy hammer.


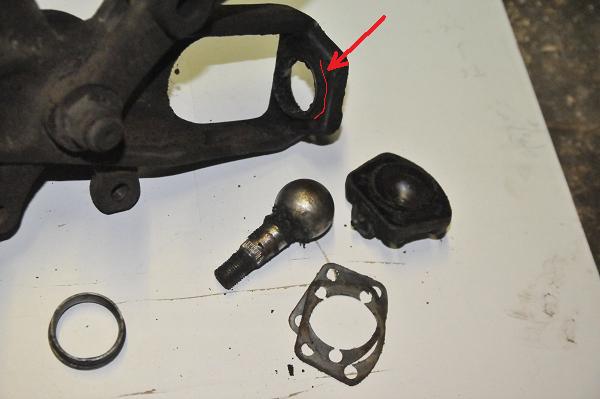
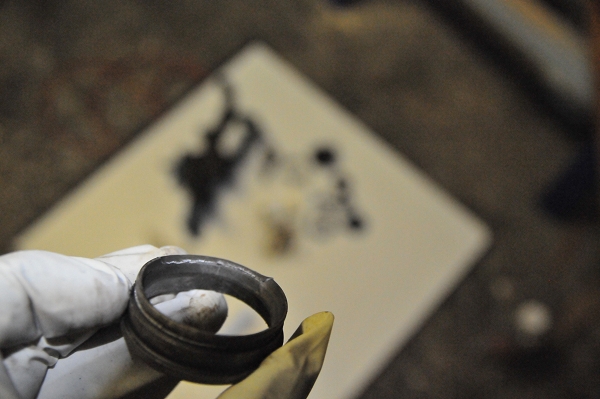
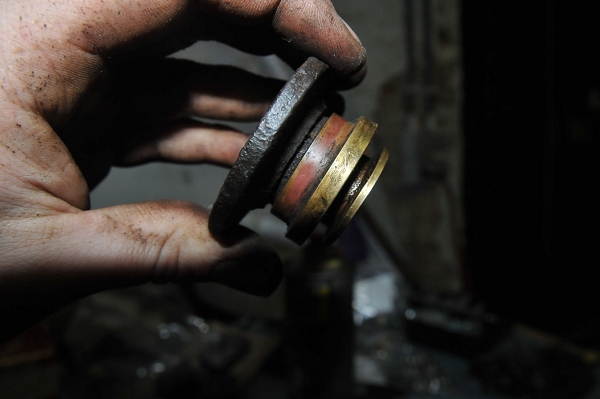
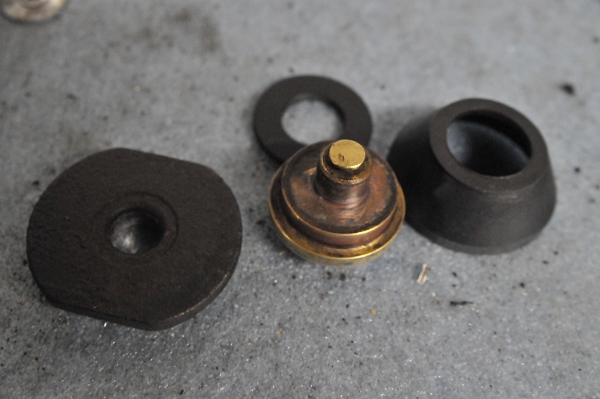
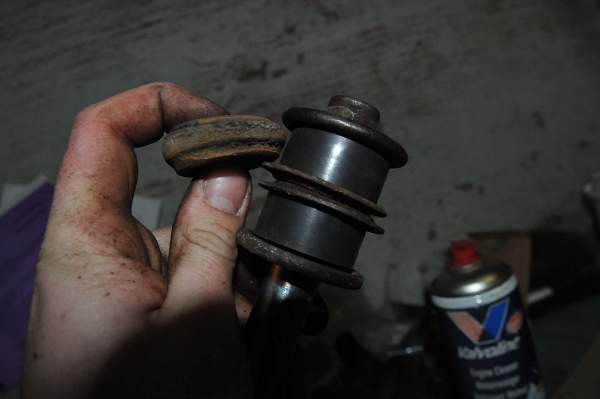
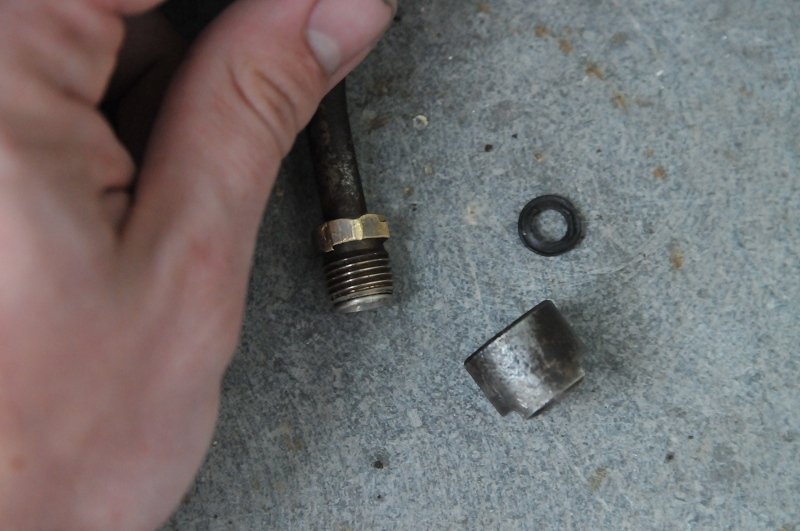
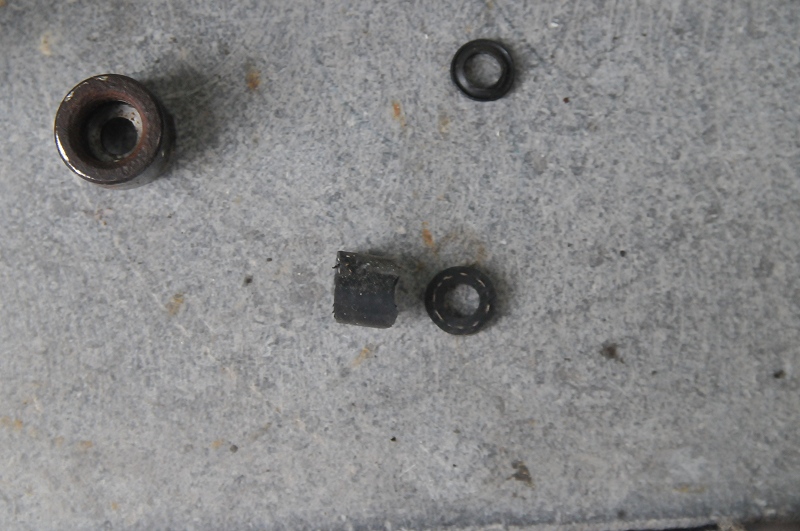
After some cleaning up the bolts were easily removed. Here you see the parts disassembled. The ring, indicated with the red arrow, can be removed as well. The ring from the other bottom ball joint is on the left.


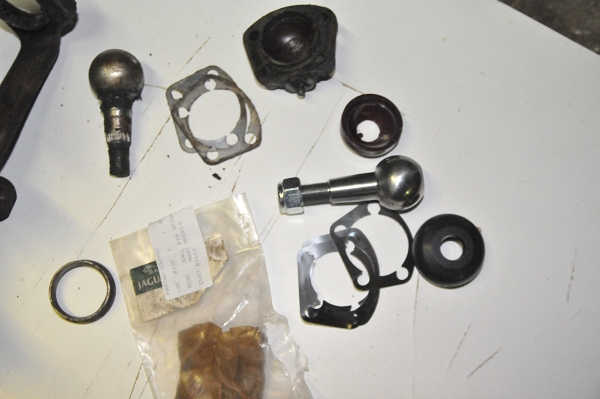
The kit from SNG barratt.


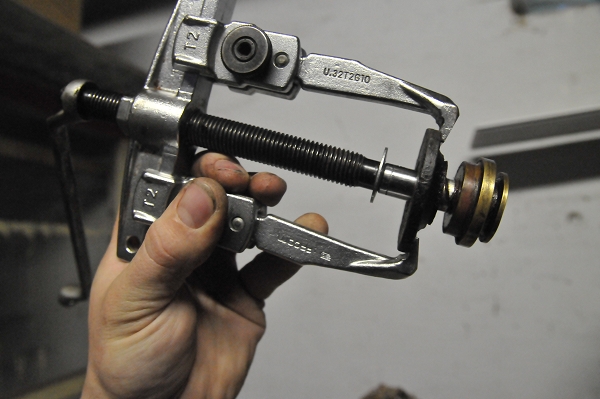
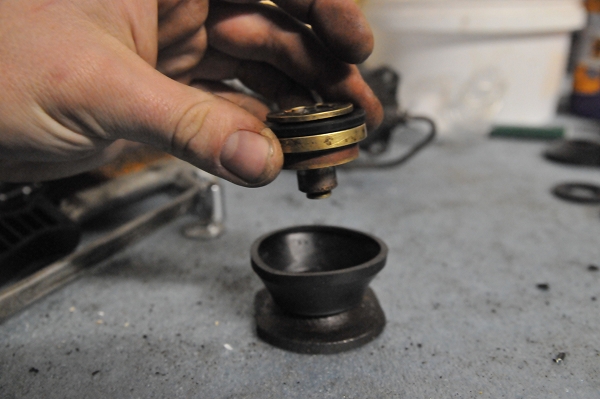
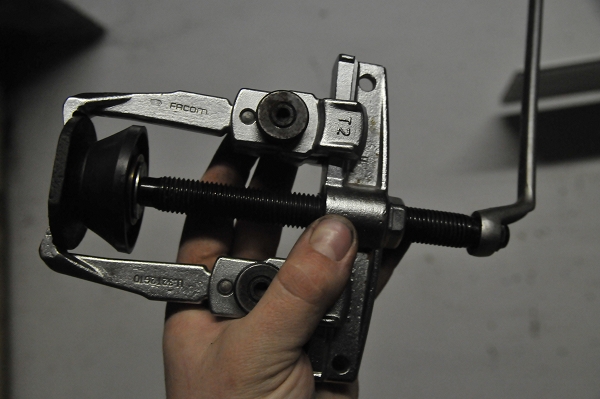
Be careful when pushing in the ring. Everything should be clean and the ring pushed in straight, or it might break. It did in my first attempt.


It works pretty well with a vise.


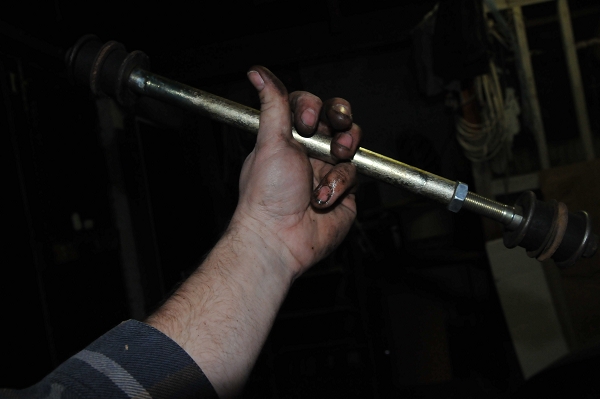
The anti-roll bar linkages have seen better days. I've replaced them with new ones.

maandag 31 januari 2011

Front suspension - second half

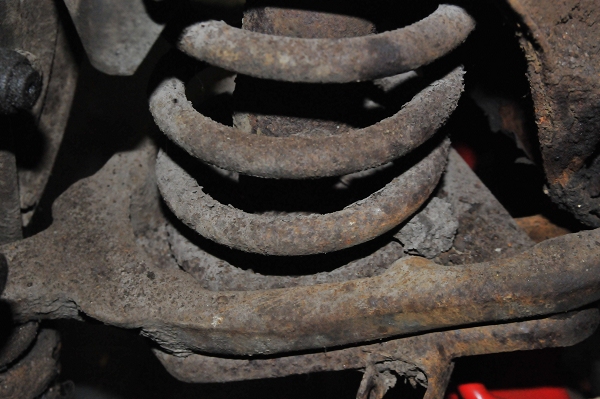
I started working on the second half. How old is this dirt?


This is how it should turn out.


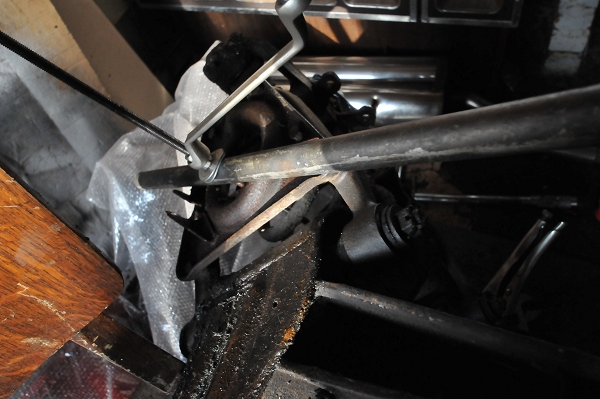
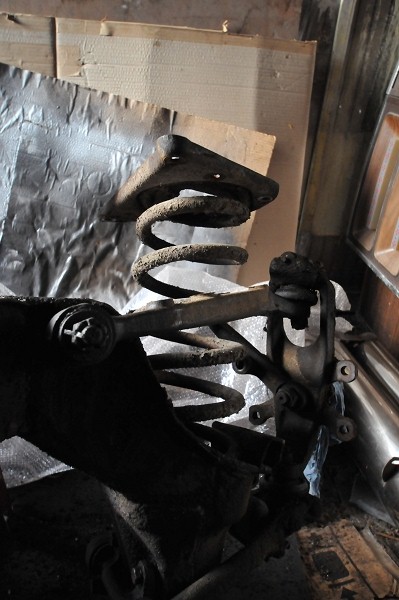
Releasing the road springs requires a threaded rod. I used an M10 rod but that's actually on the thin side. I believe the manual says 16mm is the size to go. I ripped the threads of a couple of nuts already so it's worth using new nuts every time.


The spring, completely released.

Front suspension rebuild

Rebuilding the front suspension is quite a job. Releasing the springs is especially nervewrecking. It's all pretty straight forward but it's worth taking notes which screw goes where, and especially where which washer goes.

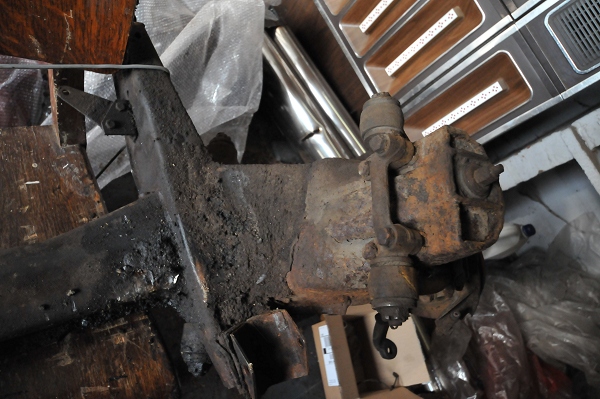
Pretty rusty.


Brake discs will have to go as well.


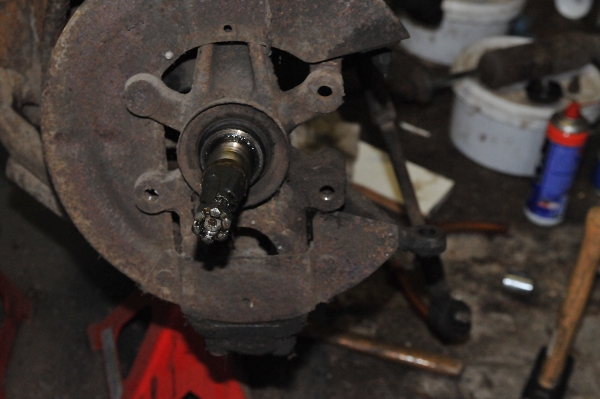
The front hubs come off a lot easier than the rear ones.


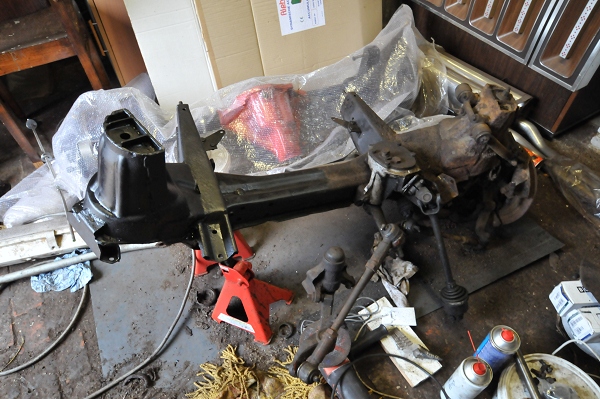
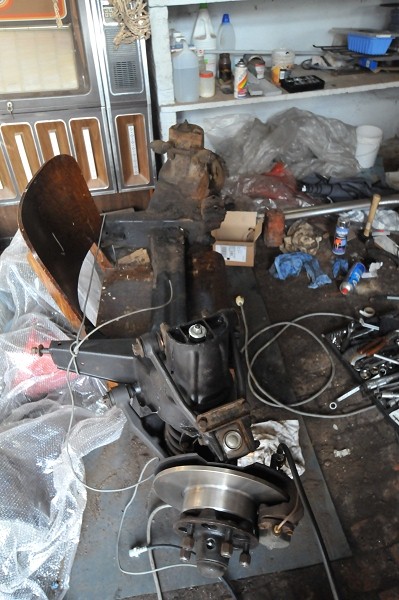
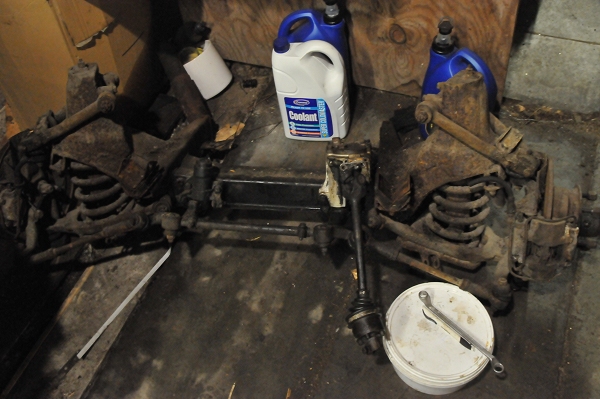
Flash forward. Almost everything has been removed on one side. This will be covered in more detail in a following post. I did this side by side so I'd have a reference for rebuilding.


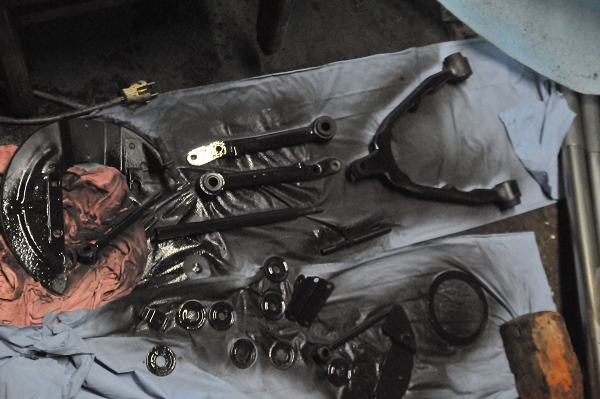
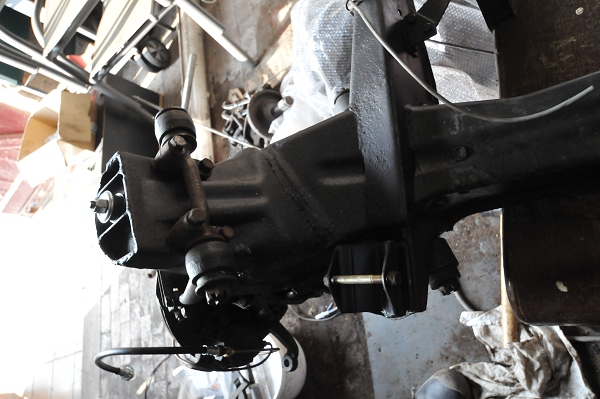
Some cleaning with various wire brushes and a coat of rust-inhibiting paint.


My axle stands are all used up so I tied the suspension to a chair.
The SNG barratt front suspension rebuild kit contains new ball joints as well, as you may have noticed.

Front brakes

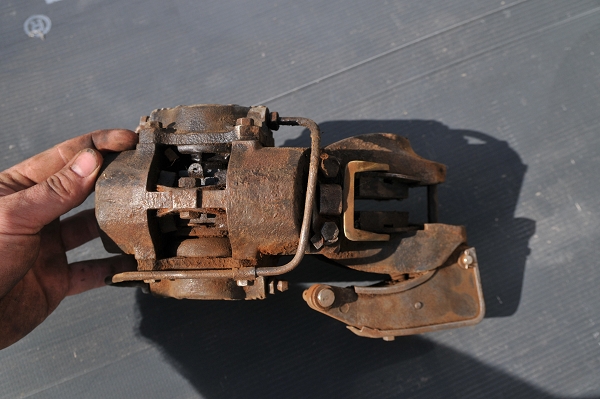
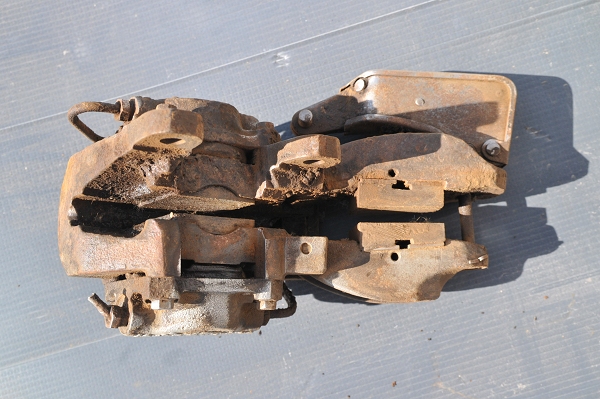
Rebuilding the front brakes was another dirty job similar to the rebuild of the rear brakes. Again, the brake pads were stuck because of the dirt and rust.
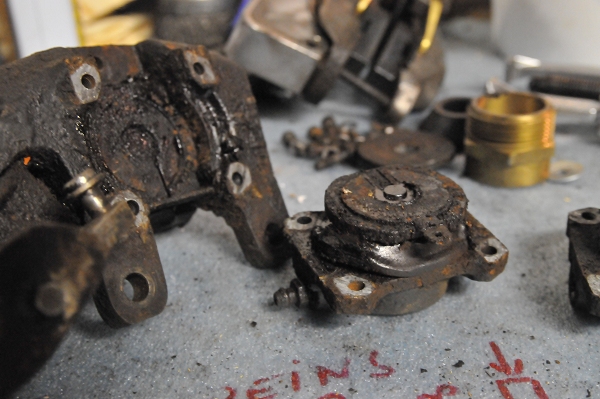
The front pistons didn't come apart like the rear ones so the rubbers had to be heated (not too much) and lubricated with brake fluid to stretch into their place.


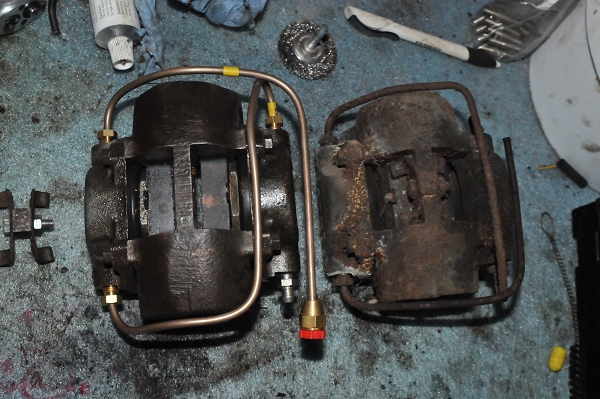
"After" and "Before"

vrijdag 10 december 2010

New brake discs

The rear axle brake discs didn't clean up as nicely as I had hoped. I thought it was just surface rust but the edges were badly corroded. A set of new discs isn't expensive so I've decided to change them. This would also give me the chance to clean up and paint the inside of the splash screens. Little did I know it was going to be a hell of a job.

I should've seen it coming though, both the Practical Classics 1980s book and the current Mk II restoration issues state what a tedious job removing the hubs can be.

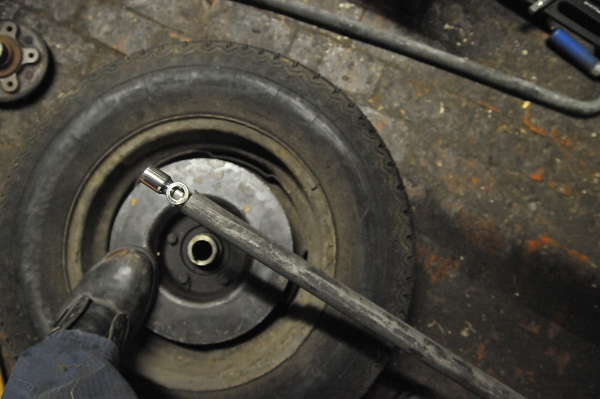
First up: the castellated nut. I soon found out the best way to remove this is to put the road wheel back on, sit on the wheel while it rests on the floor, and then leaning on the wrench with all your might. (Of course, first remove the split pin!)


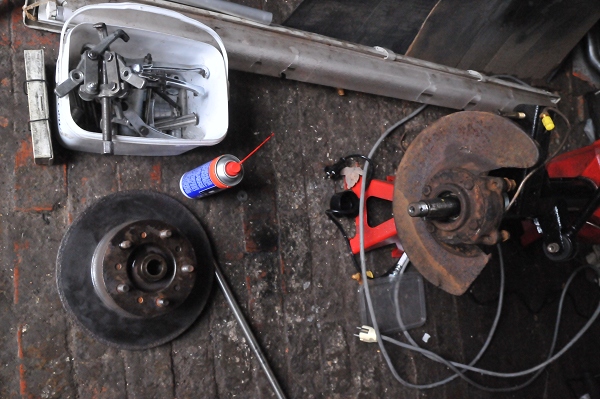
The first hub came off with a relatively small 3-legged bearing puller and some extensions on the wrench. This same bearing puller unfortunately broke (well, exploded) when I was trying to get the second hub off.


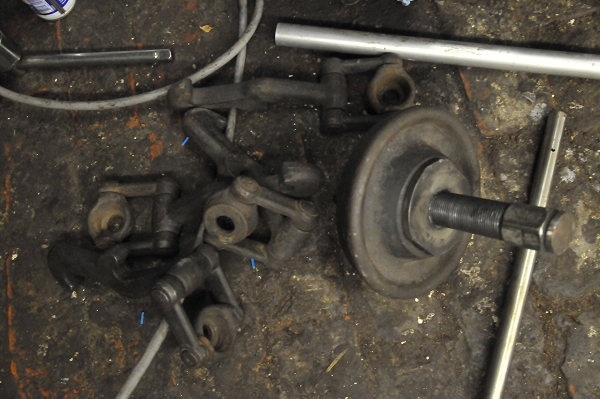
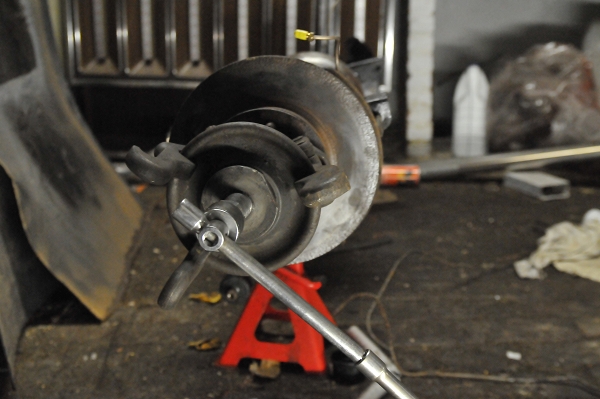
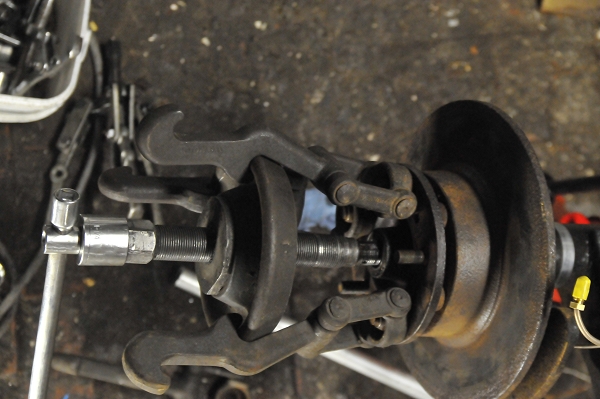
The pictures below show the somewhat sturdier piece I borrowed from the local garage. Apparently, it's about the same age as the car.


It still took 2 people (one to turn the puller, one to hold the axle down with all his weight) but finally the second hub came off as well. A lot of sweat, some bruises (from the broken bearing puller), and a whole lot of swearing were involved.
Top tip 1: if you want to reuse the brake discs, don't hit them with a hammer. I wasn't planning on reusing them so I didn't care. By the way: it didn't help any.
Top tip 2: Some people at the Dutch jaguarforum told me to apply heat to the hubs if they didn't come off.

I have decided to use the original pressed steel wheels. Partly because that's the way it was on Morse's jag, partly because I know I will never clean wire wheels, and partly because wire wheels would add another €1000-€1500 to the parts bill.

The road wheel came in useful again to release the bolts from the brake disc.


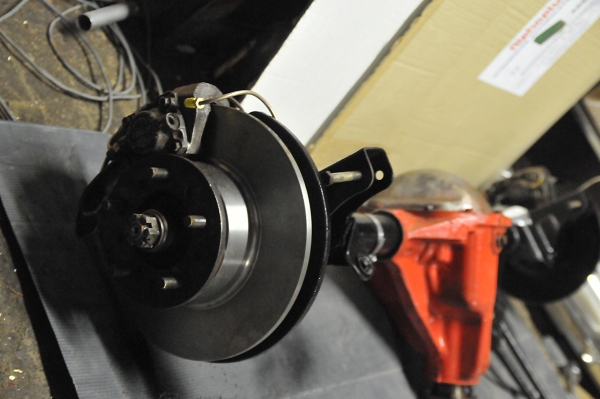
The reversal of the removal procedure...


You might notice the brakes aren't connected - that's because they need to be aligned first, and I need to check if the wheels are on straight as well. But that's for another round of getting dirty.

zondag 21 november 2010

Rear axle and brakes practically ready

I found the solution to the problem with the position of the bleed nipple on the brakes. Apparently the position was changed to the inside on later models.

I've had some trouble removing one of the pistons. The others popped out just with some pressured air, but for the last one I've had to fill the cylinder block with brake fluid and then apply pressured air, a couple of times.

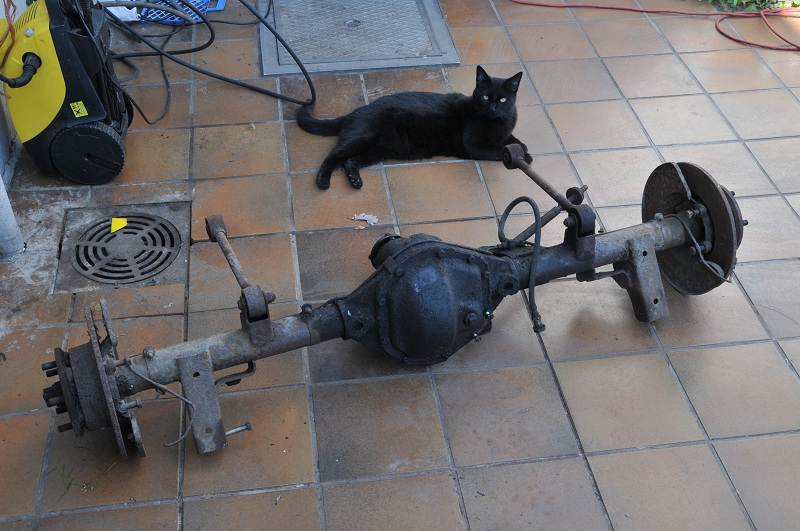
I've finished brushing the rust off the rear axle and respraying. I didn't remove the splash screens near the brakes as this involves a lot of work. All that's left now is adjusting the brakes and greasing the bearings.


New brake pipes, a bit of paint, new oil for the dif, and a lot of rust removed.


As it was...


I'm not sure about the brake discs, I've cleaned them but they're not really shining like mirrors yet...

zondag 14 november 2010

Some more on the brakes

One of the brakes. What strikes me as odd is the place of the bleed nipple. This is in a different (and more logical) position on the parts car.
Also note that the later type of bleed nipple doesn't use a ball. It just has a small hole on the side that allows you to bleed the system when released.

Looking at the parts list drawings it seems that somebody, indeed changed the place of the cylinders. The bleed nipple should of course be on the wheel side of the car. In the service manual it says the "hairpin bend" in the tubing shoud be on the inside. That's the case here but it's not in the correct hole, the brake piping from the axle can't be connected this way. So did somebody mess up?


The brakes

Time to tackle the brakes. It sounds simple: new brake pads and new sealings. The truth was somewhat slower and dirtier.
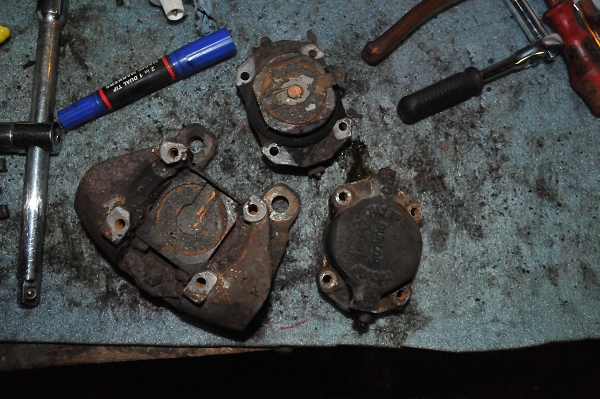
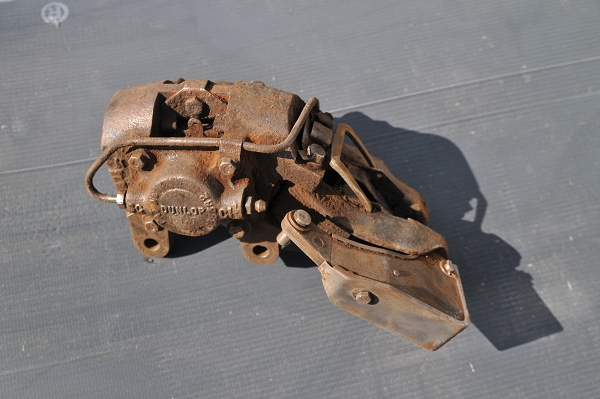
The brake pads were stuck and broke loose from their holders. Everything is so dirty it needs a very thorough cleaning.


The work ahead...


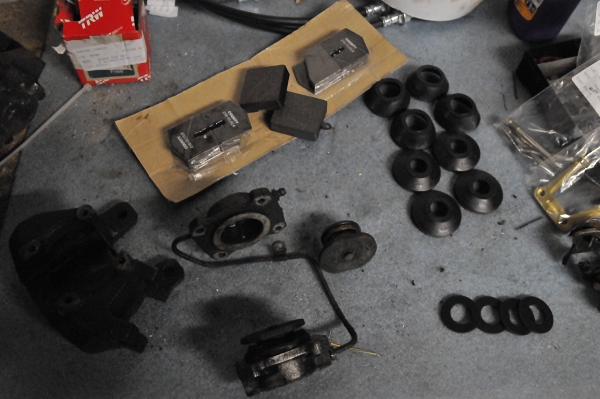
As you can see on the left, the rubbers are worn. Some dirt inevitably found its way into the calipers but I've decided to try and reuse them anyway.


To remove the pistons from the cylinder block, it's recommended to use pressurized brake fluid, but since there was no more brake fluid in the braking system, I tried pressured air. Some of the pistons needed pusing back and forth a couple of times. I ripped the top rubber part away to get it out of the way.


With a good bearing puller, a fitting socket and a thick washer I separated the parts of the piston. It's the only way to fit the rubber seal.


Soon, I'll be posting overview pictures of the rear brakes.

Front axle removed and some more...

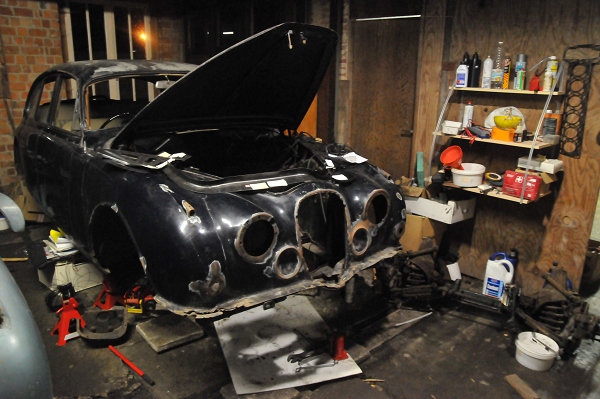
I've removed the front axle. To my surprise, it went relatively easy. Two big jacks and one smaller jack were required. The front axle is really only held on by four screws, plus the anti-roll bar linkages plus the steering house. The steering was the most difficult part to get loose.


Meanwhile, I've removed the rust from the rear axle and painted it. Pictures are to follow. Also, the leaf springs were painted and the new bushes were pushed in. I learned that the original "metalastic" bushes have a metal ring on the outside, that needs to be pushed out as well. The new "polybush" bushes don't have this metal ring.
The bolt that holds the springs together and the rubber pads between the leafs aren't available separately. Fortunately, Angloparts sells a bolt that fits if you use a couple of washers.

The panhard rod was rusty and it wouldn't move anymore so I bought a new one. I kept the washers.


The bushes were in the Polybush kit. As you can see from the picture, it was about time they were renewed.

Engine progress

Finally some time to update this blog. The engine is working - the reason it didn't start was that the distributor cap wasn't put on correctly.

Two other problems came up. The first was the joint where the fuel line joins the carb. This is different from the 2.4 mk II with the HD carbs. I couldn't find it in any parts manual.


I cut a new one from a piece of universal fuel hose that was an exact fit.


Then I found out one of the carbs was leaking through the overflow outlet. Turns out I put the little "valve" in backwards. This took two minutes to correct.

The leaky radiator was - quite to my surprise - fixed quite quickly with CRC radiator sealer (see this link). It's been leak-free for a couple of months right now, but of course there hasn't been any pressure or movement.