zondag 21 november 2010

Rear axle and brakes practically ready

I found the solution to the problem with the position of the bleed nipple on the brakes. Apparently the position was changed to the inside on later models.

I've had some trouble removing one of the pistons. The others popped out just with some pressured air, but for the last one I've had to fill the cylinder block with brake fluid and then apply pressured air, a couple of times.

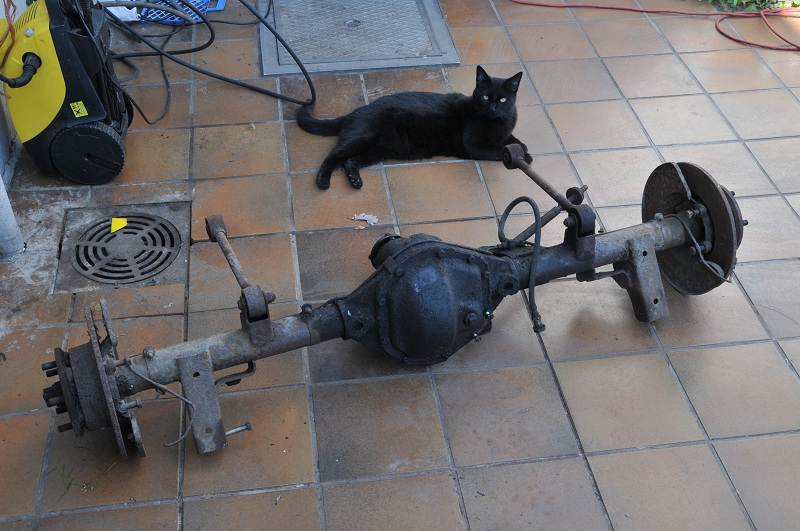
I've finished brushing the rust off the rear axle and respraying. I didn't remove the splash screens near the brakes as this involves a lot of work. All that's left now is adjusting the brakes and greasing the bearings.


New brake pipes, a bit of paint, new oil for the dif, and a lot of rust removed.


As it was...


I'm not sure about the brake discs, I've cleaned them but they're not really shining like mirrors yet...

zondag 14 november 2010

Some more on the brakes

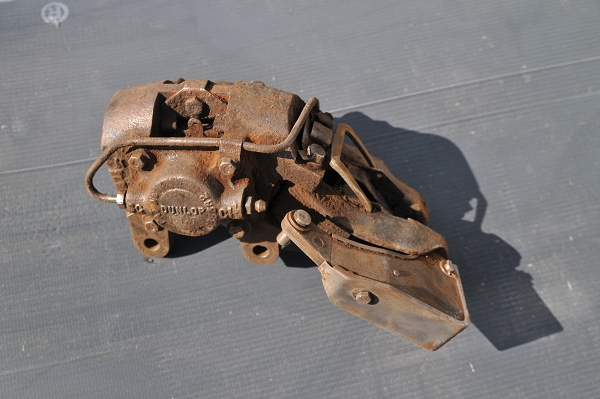
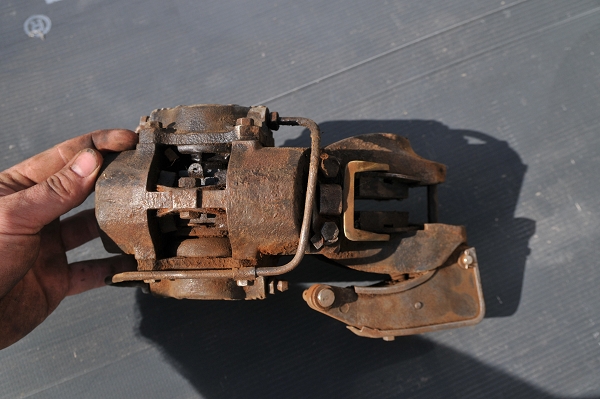
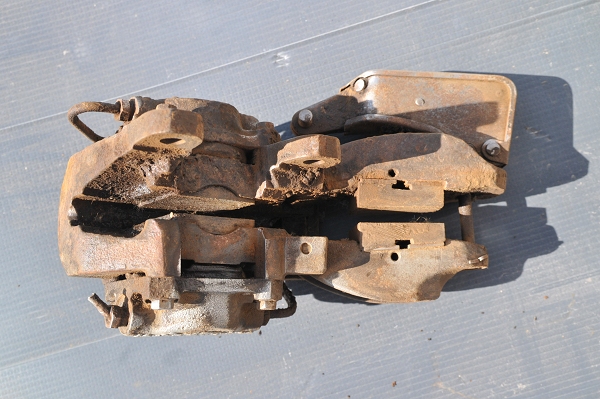
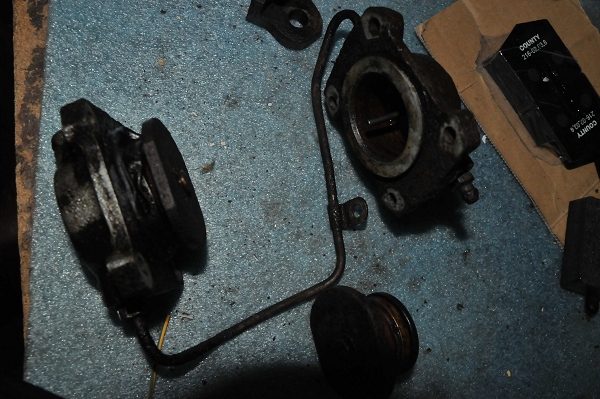
One of the brakes. What strikes me as odd is the place of the bleed nipple. This is in a different (and more logical) position on the parts car.
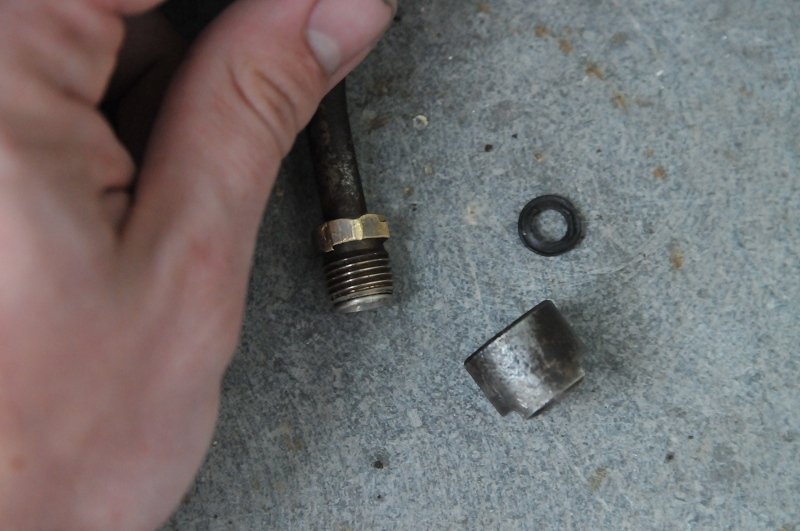
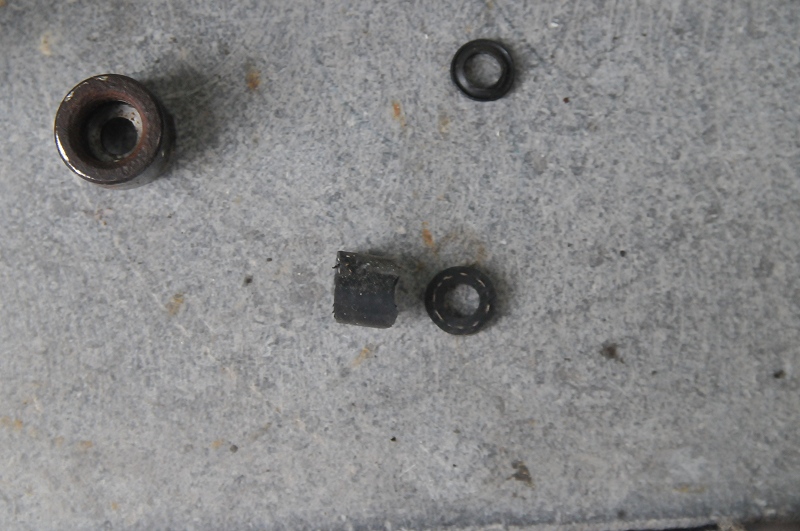
Also note that the later type of bleed nipple doesn't use a ball. It just has a small hole on the side that allows you to bleed the system when released.

Looking at the parts list drawings it seems that somebody, indeed changed the place of the cylinders. The bleed nipple should of course be on the wheel side of the car. In the service manual it says the "hairpin bend" in the tubing shoud be on the inside. That's the case here but it's not in the correct hole, the brake piping from the axle can't be connected this way. So did somebody mess up?


The brakes

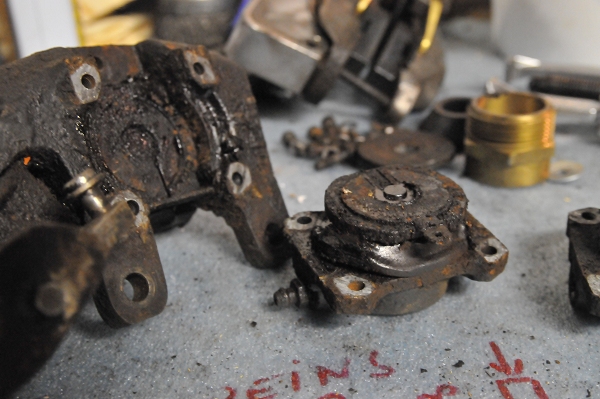
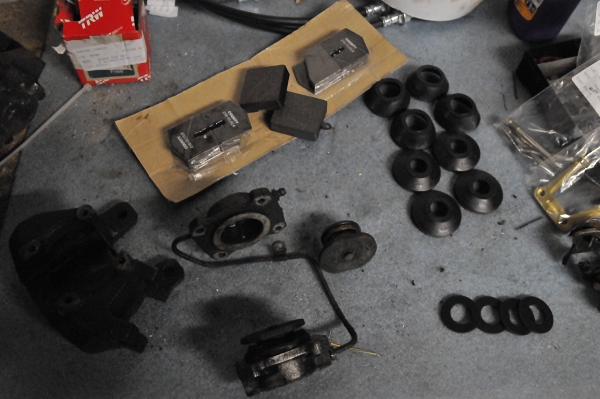
Time to tackle the brakes. It sounds simple: new brake pads and new sealings. The truth was somewhat slower and dirtier.

The brake pads were stuck and broke loose from their holders. Everything is so dirty it needs a very thorough cleaning.


The work ahead...


As you can see on the left, the rubbers are worn. Some dirt inevitably found its way into the calipers but I've decided to try and reuse them anyway.


To remove the pistons from the cylinder block, it's recommended to use pressurized brake fluid, but since there was no more brake fluid in the braking system, I tried pressured air. Some of the pistons needed pusing back and forth a couple of times. I ripped the top rubber part away to get it out of the way.


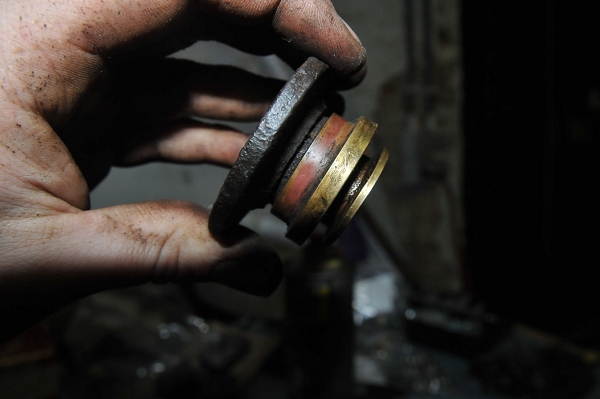
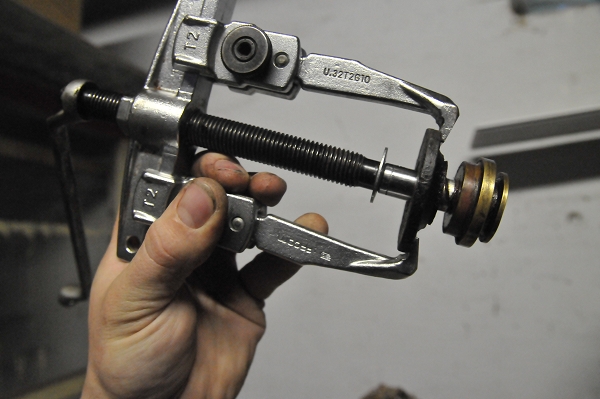
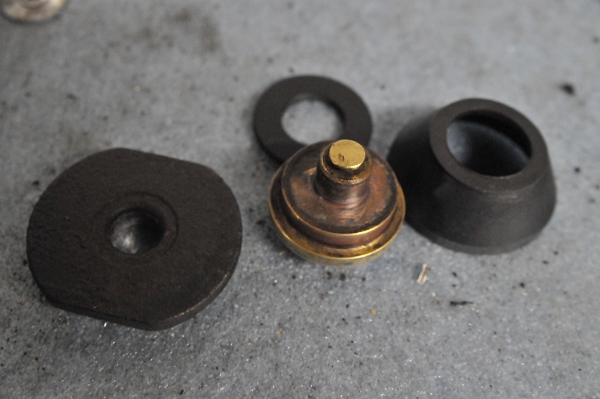
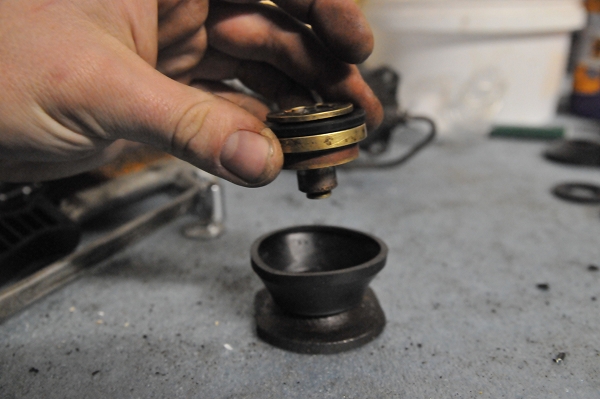
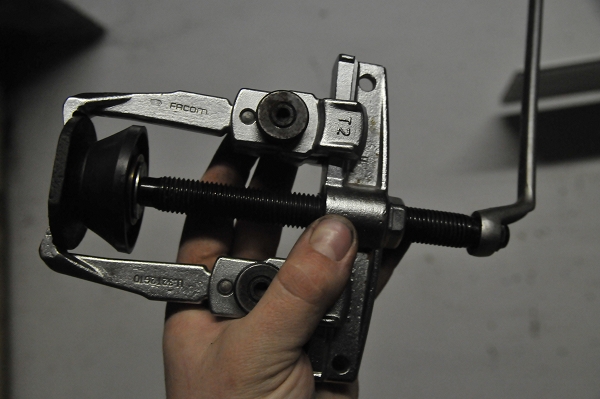
With a good bearing puller, a fitting socket and a thick washer I separated the parts of the piston. It's the only way to fit the rubber seal.


Soon, I'll be posting overview pictures of the rear brakes.

Front axle removed and some more...

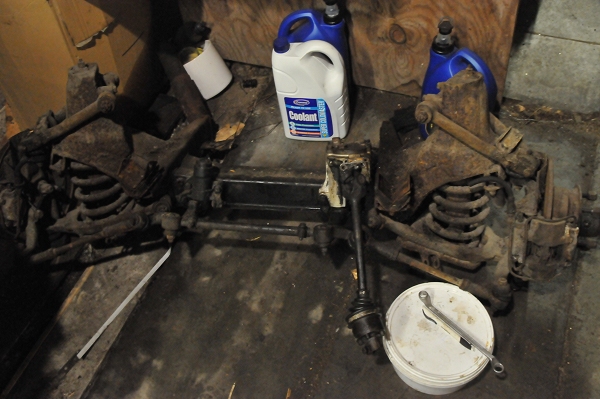
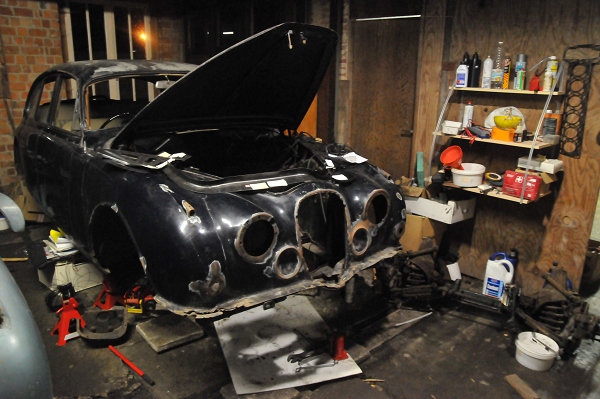
I've removed the front axle. To my surprise, it went relatively easy. Two big jacks and one smaller jack were required. The front axle is really only held on by four screws, plus the anti-roll bar linkages plus the steering house. The steering was the most difficult part to get loose.


Meanwhile, I've removed the rust from the rear axle and painted it. Pictures are to follow. Also, the leaf springs were painted and the new bushes were pushed in. I learned that the original "metalastic" bushes have a metal ring on the outside, that needs to be pushed out as well. The new "polybush" bushes don't have this metal ring.
The bolt that holds the springs together and the rubber pads between the leafs aren't available separately. Fortunately, Angloparts sells a bolt that fits if you use a couple of washers.

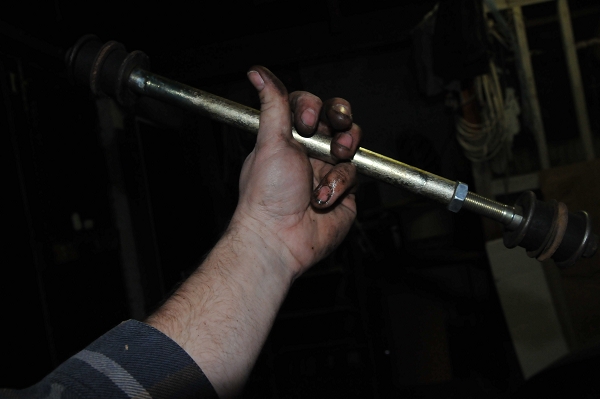
The panhard rod was rusty and it wouldn't move anymore so I bought a new one. I kept the washers.


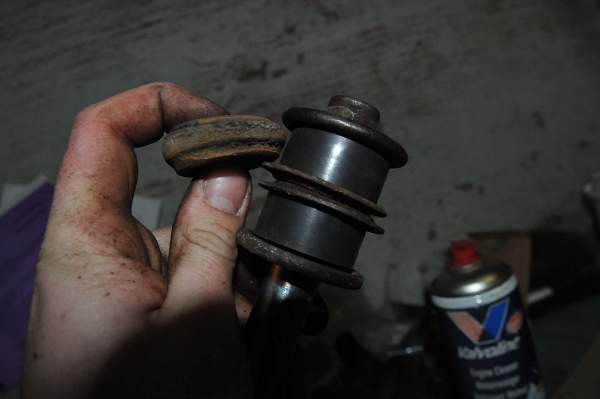
The bushes were in the Polybush kit. As you can see from the picture, it was about time they were renewed.

Engine progress

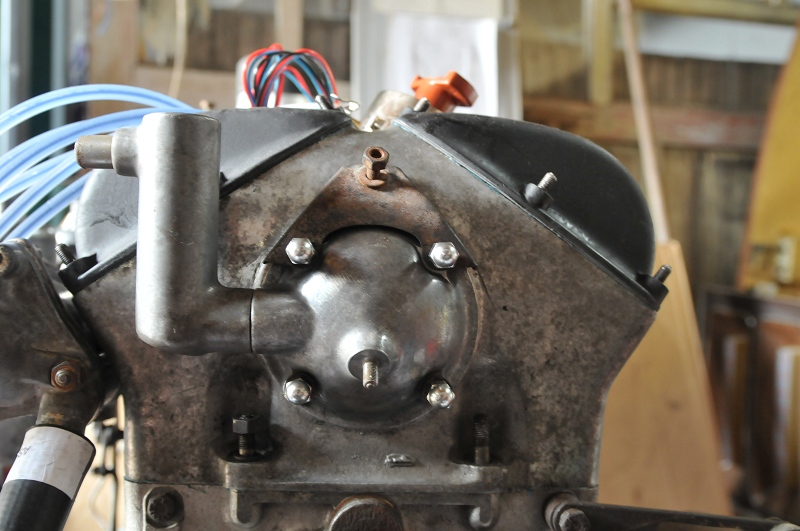
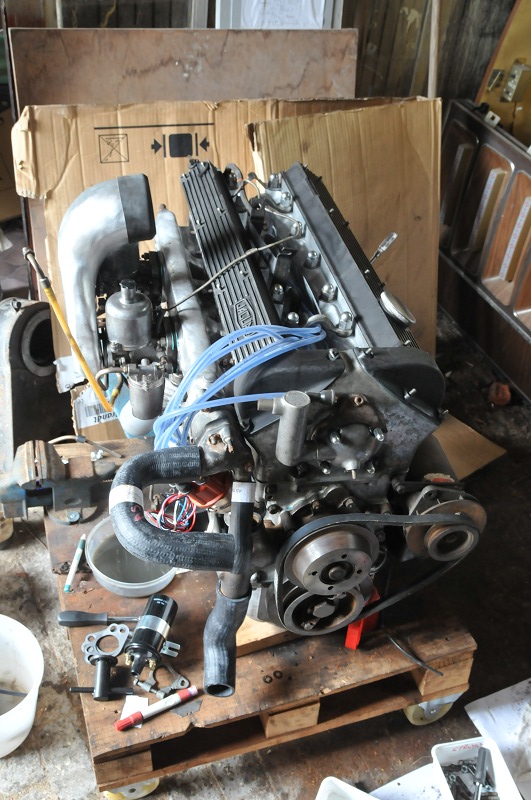
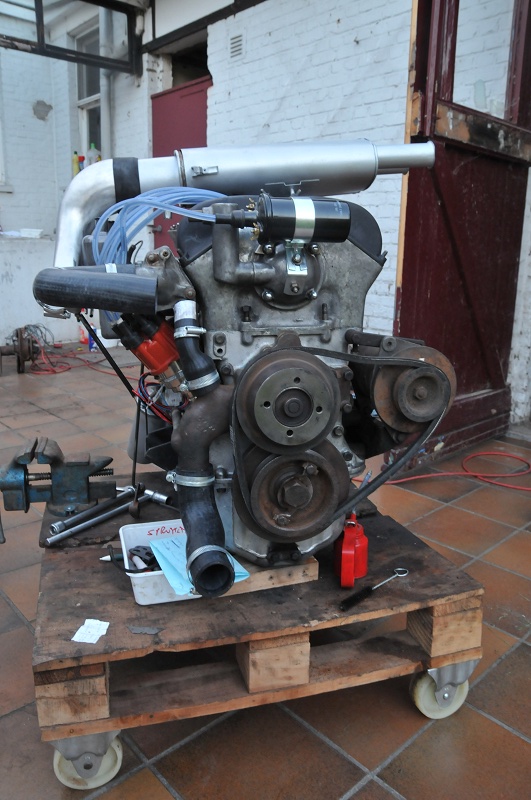
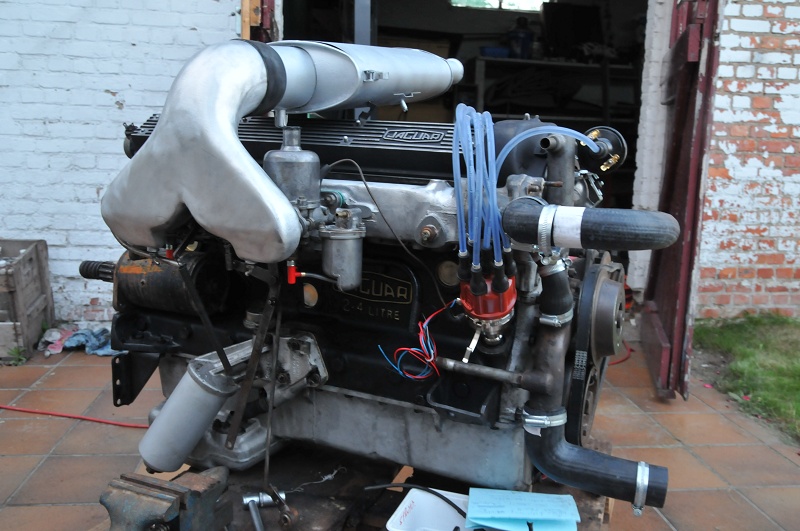
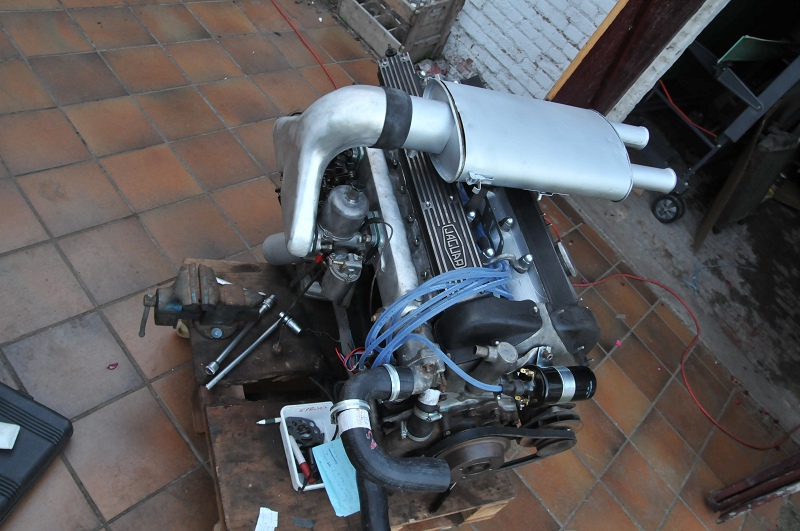
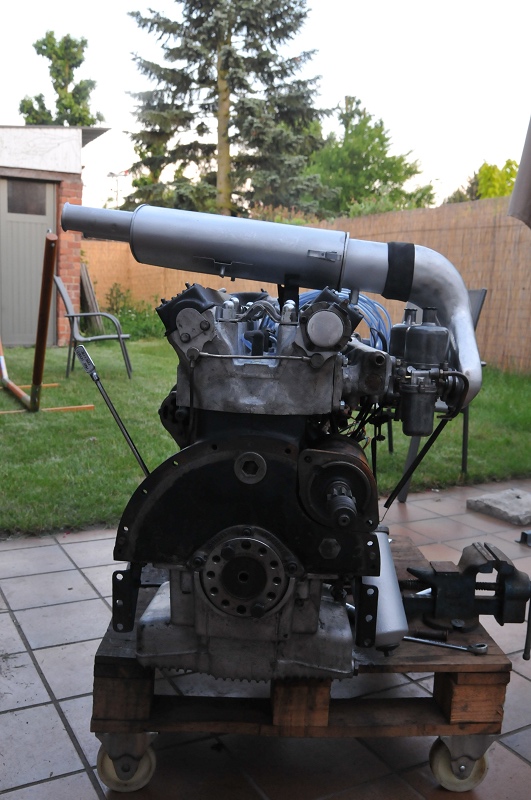
Finally some time to update this blog. The engine is working - the reason it didn't start was that the distributor cap wasn't put on correctly.

Two other problems came up. The first was the joint where the fuel line joins the carb. This is different from the 2.4 mk II with the HD carbs. I couldn't find it in any parts manual.


I cut a new one from a piece of universal fuel hose that was an exact fit.


Then I found out one of the carbs was leaking through the overflow outlet. Turns out I put the little "valve" in backwards. This took two minutes to correct.

The leaky radiator was - quite to my surprise - fixed quite quickly with CRC radiator sealer (see this link). It's been leak-free for a couple of months right now, but of course there hasn't been any pressure or movement.

zondag 8 augustus 2010

Welcome, older brother

Although the guy that sold me the 240 promised it was "98% complete", a lot of pieces were missing. Door handles, lights, and various bits and pieces. I came across this wreck on the internet, and it still has everything mine is missing. It came pretty cheap because it's in a pretty dreadful state.
I'm still in doubt whether to put the left hand drive steering wheel and all the rest into the project car. Apparently it can be done, and since the engine bay is as good as empty, it should be possible. But that's for (much much) later.


In the boot there was about half an engine's worth of stuff including the chrome cam shaft covers, a starter motor, generator, water pump (stuck) etc... plus a clutch that's almost as good as new... just what I need. I only hope the larger clutch will fit.


The interior...


Some more progress on the engine

In order to test the engine I had to put the clutch housing on, because that's where the starter motor goes. I repaired the fuel pump as well - it just had some dirty contacts. The radiator is leaky, I'll try to get it repaired.


At first the starter motor didn't run but that was because of the thin starter cables I used. When using 10mm² cables it turns the engine but there's no sign of starting yet. Because of the holidays I haven't had much time to look into it further.

vrijdag 18 juni 2010

the engine is growing...

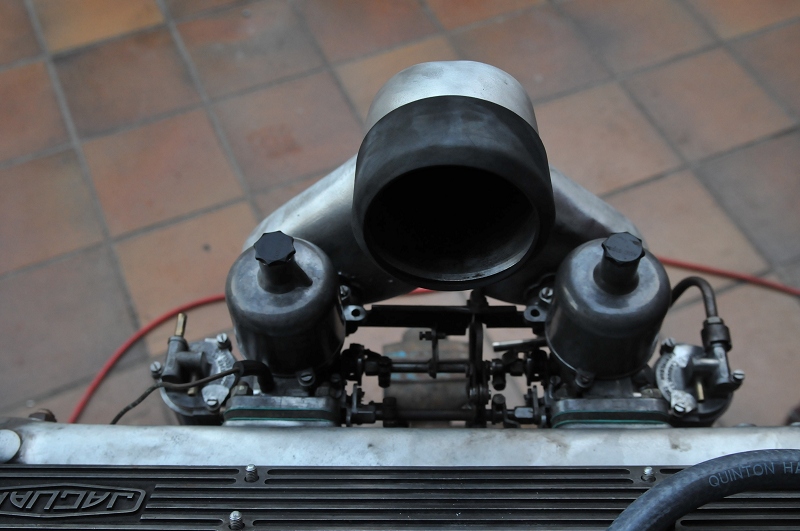
I have put some ancilliaries on.
If all goes well I hope to test it in the next couple of weeks.


Appartently I put the bracket for the air filter on the wrong side. I hope that will be all that's wrong...


zondag 13 juni 2010

Some progress on the engine...

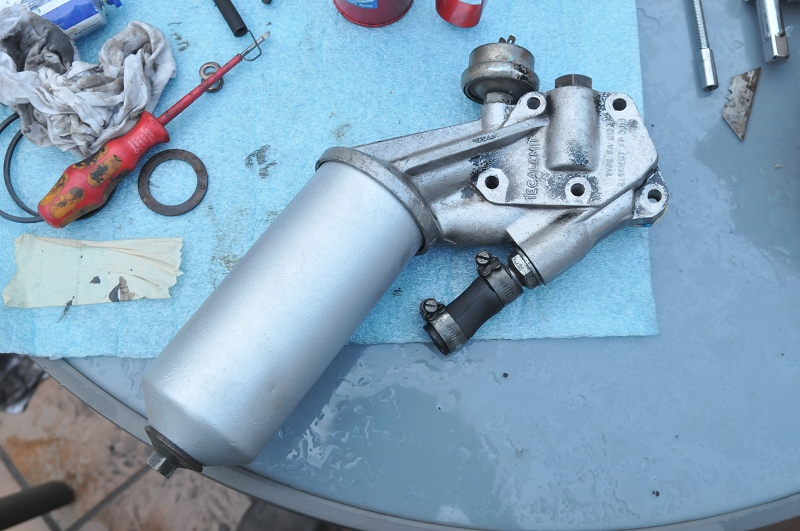
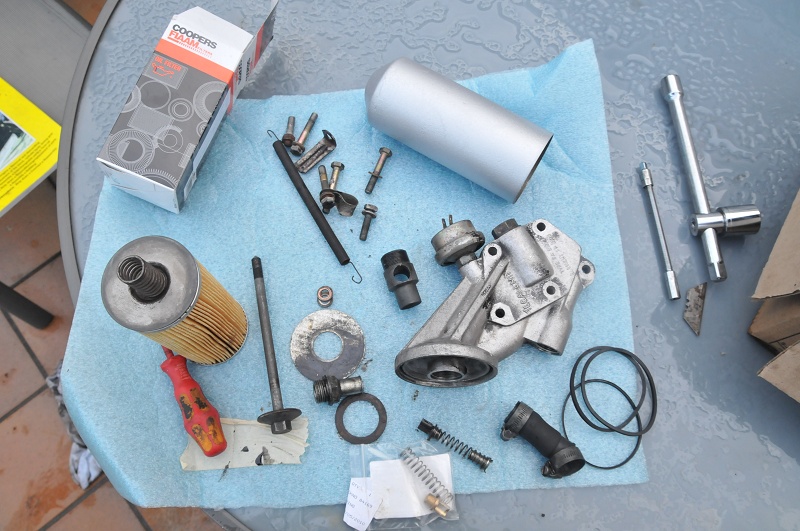
The disassembled and re-assembled oil filter.
I was lucky I never throw out the old pieces until the new ones prove satisfactory: one of the oil filter parts was stuck to the old filter element and I would've thrown it away.


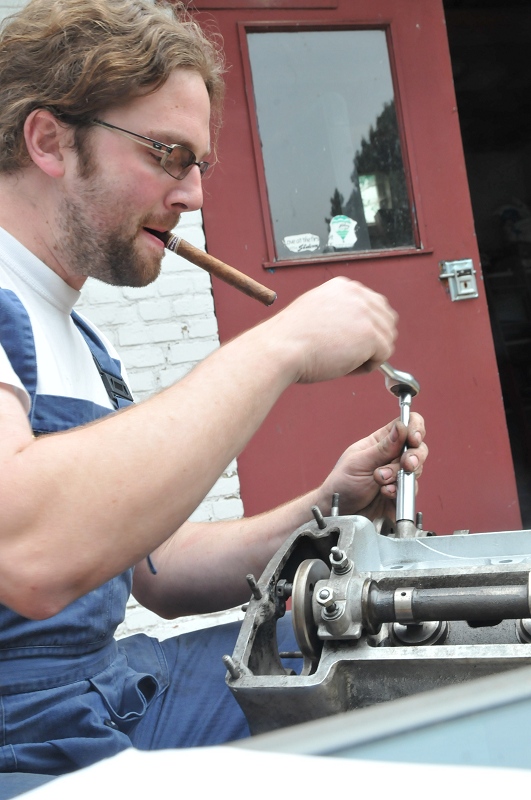
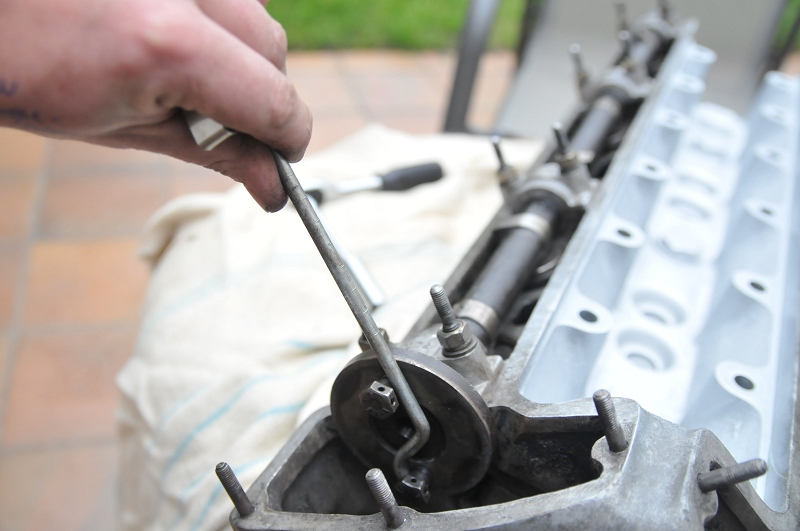
Setting the valve clearances is a boring job: mounting one camshaft, measuring everything, getting the shaft out, correcting, and starting over... So you'd better do this when you're in a totally zen mood. As illustrated below.


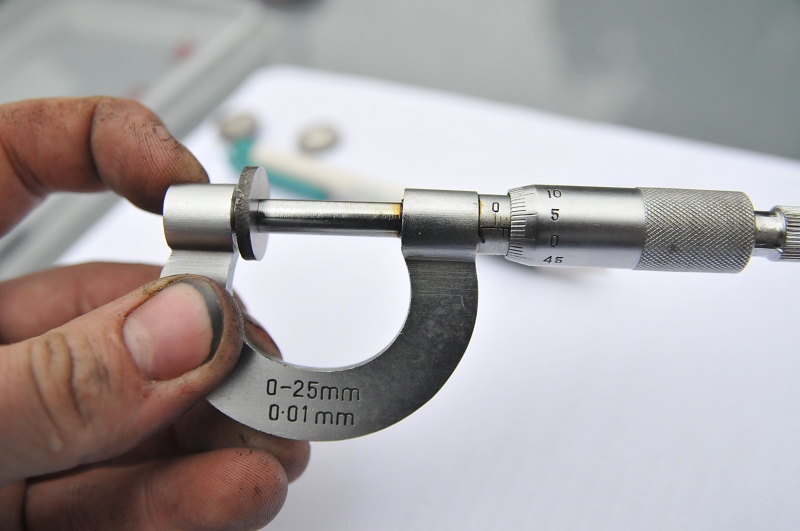
Two tools that come in very handy when setting valve clearances:
1) a micrometer to measure the exact thickness of the used shims. This one cost about 6,5€ which is the price of two shims if you shop at SNGBarratt, or one shim if you go to your local Jaguar dealership.


2) a distance piece from a drill. This can be used to turn the camshaft, almost without effort.


The damper, cleaned, reveals the "BTDC" markings.


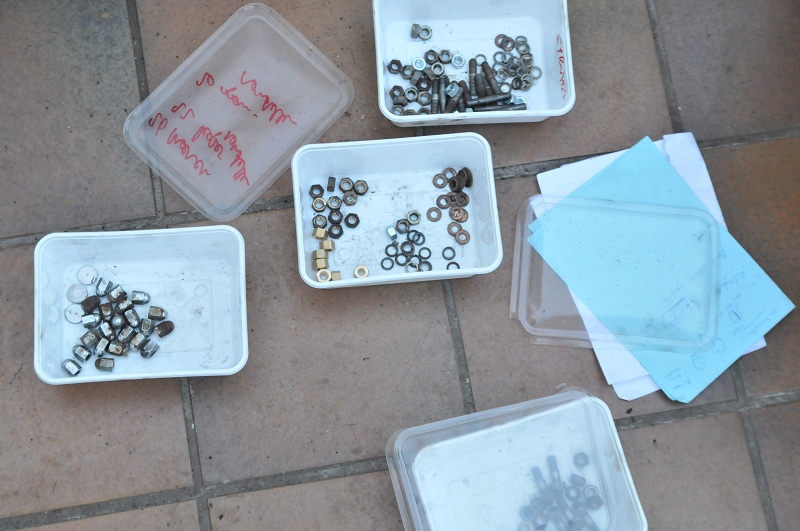
Just some more nuts & bolts. We order Chinese food in order to get these handy boxes.


Water pump and cylinder head in place.


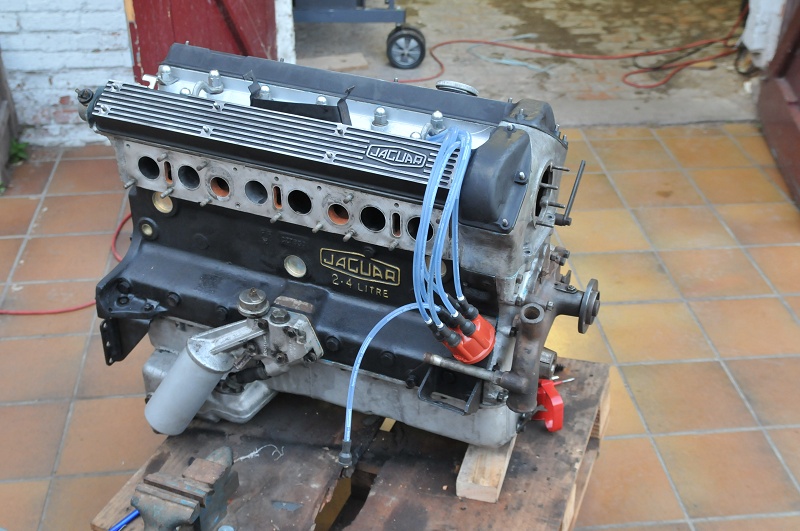
Isn't this a nice sight... I don't think the engines had gold lettering originally but I like it this way.

zondag 6 juni 2010

Assembly

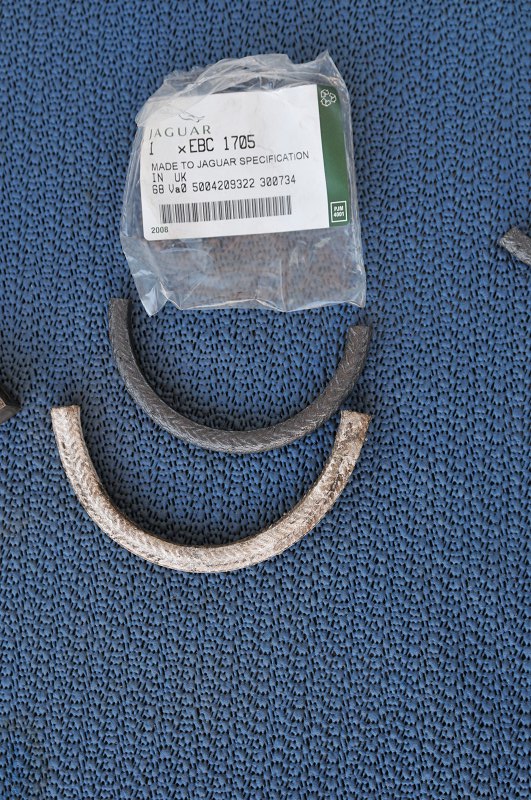
The non-original gasket set contained too large an oil seal. The original Jaguar part (above) was an exact fit.


Pistons, new bearings and new oil seal in place .


The correct caps in the right place.


The new hydraulic tensioner. The oil enters through this little hole.
This brand (Rolon) didn't seem to have a way of releasing the spring... after some heavy cursing and reassembling the thing a couple of times I found out you just have to push it in once it's in place.


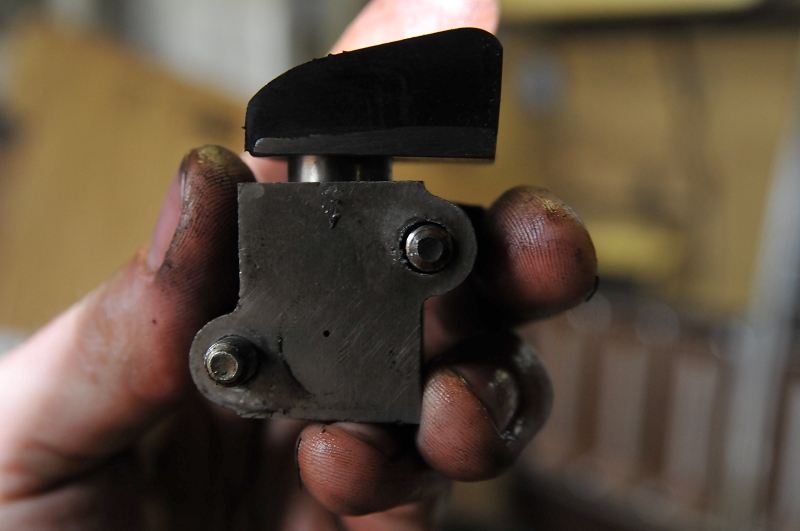
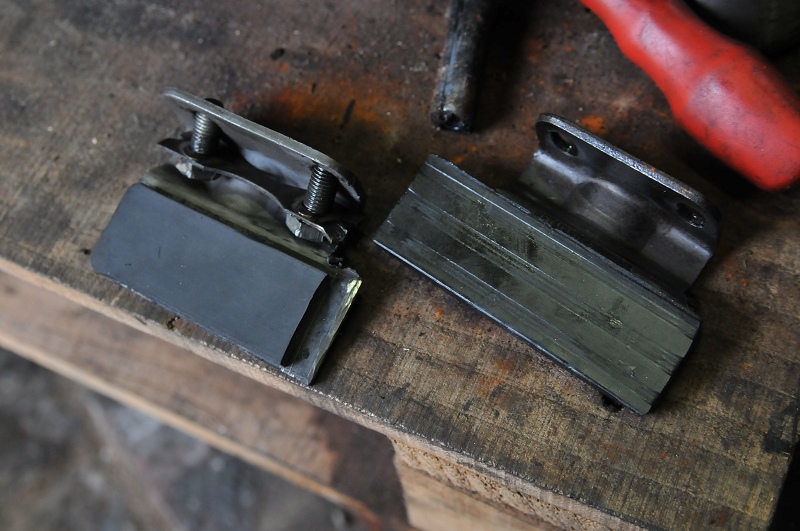
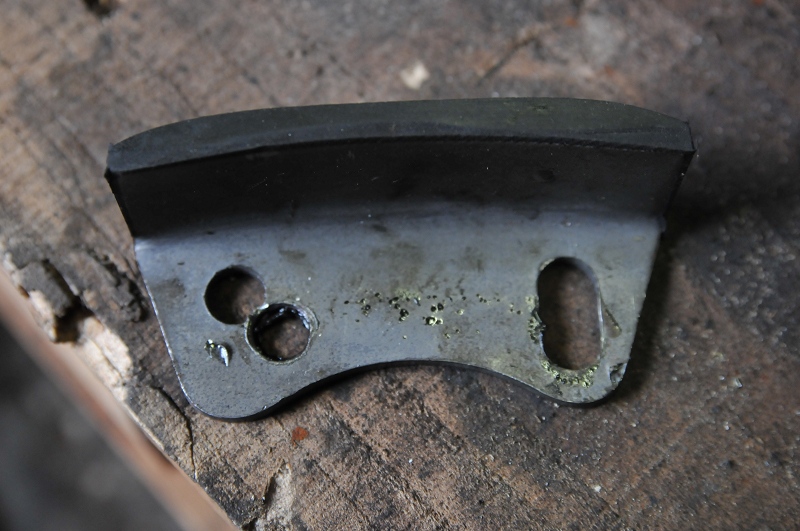
Some of the chain guides weren't available anymore. The replacements weren't the exact same size so I had to grind and drill some to get them to fit.


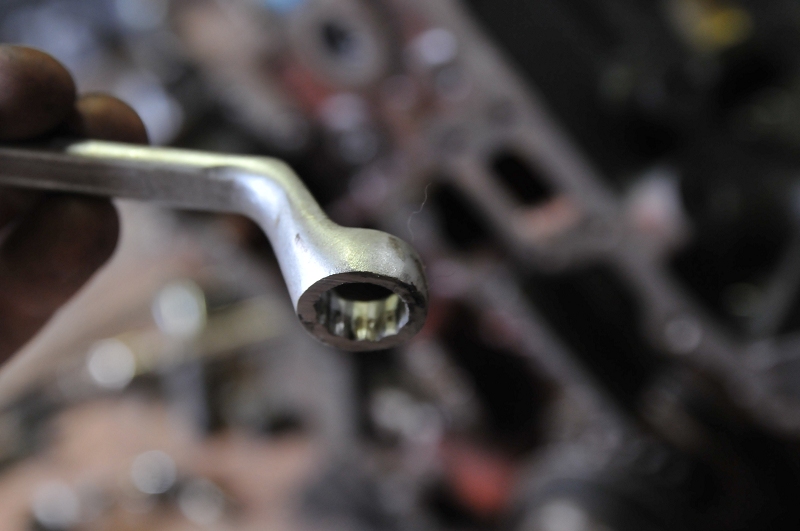
In order to reach the bolts behind one of the tensioners I had to grind a bit of this (cheap) wrench.


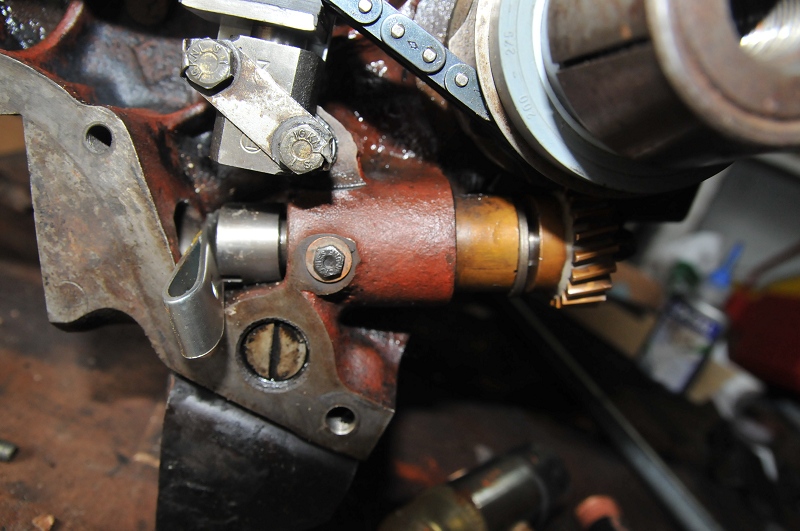
Timing gear back in place


Reassembling the drive shaft was another irritating job. I tried blocking the shaft with a piece of wood and tapping the gear on, but the crankshaft bearing was in the way. Then I tried without the bearing but the bearing can't be replaced once the gear is in place. So finally I put the gear in place, put a piece of metal behind the shaft to block it and started tapping the gear in place. Once you can put the nut on it's easy.


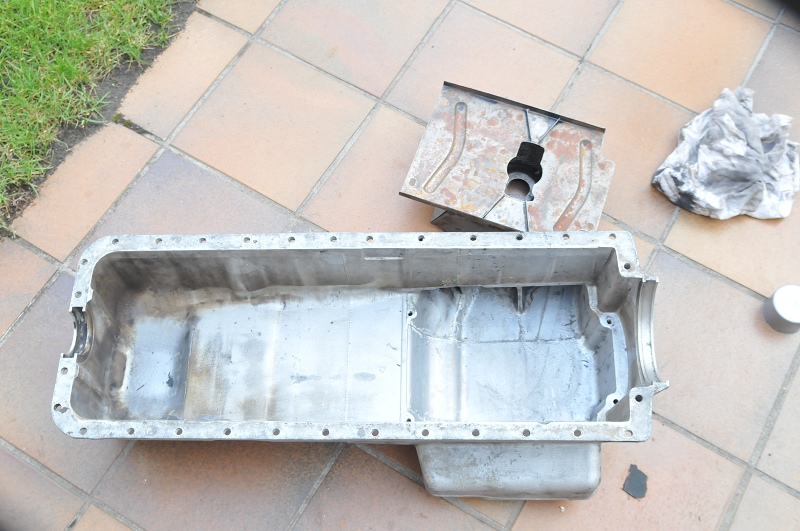
The sump... clean as it 'll ever be.


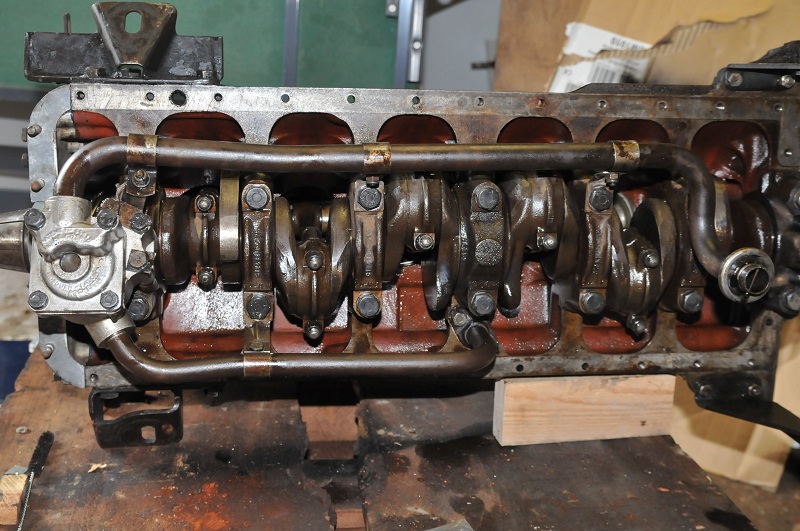
The oil pump in place.


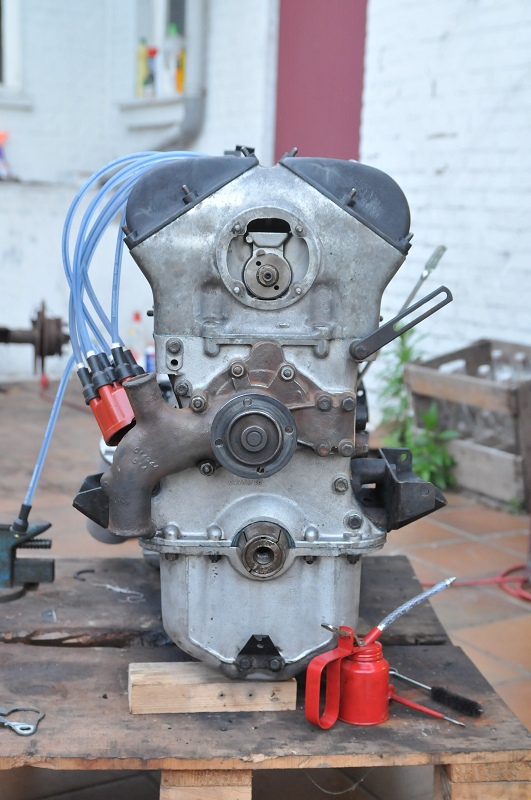
The sump in place and the engine in upright position.

There are quite a lot of different types of bolts for the timing gear cover so it's best to make a note when disassembling. I learned that the hard way. On the plus side: you can't make mistakes if you take a logical approach.
Next time: revising and putting the oil filter and water pump in place.
Final adjustments on the cylinder head and putting it in place. And then some fiddling with the electronic ignition...